Contents
How to Add an Interactive Floor Plan to Your 360 Virtual Tour
Why an Interactive Floor Plan Matters
Adding an interactive floor plan to your 360 virtual tour makes navigation easier and enhances the user experience. It helps viewers understand the layout of the space and move seamlessly between rooms. Without a floor plan, users might feel lost or have difficulty visualizing how different areas connect. An interactive floor plan eliminates confusion by providing a structured map of the property, allowing users to jump between spaces effortlessly.
Step 1: Open Your Virtual Tour
Log in to your Virtual Tours Creator account and open the tour where you want to add a floor plan. This is the first step to making your tour more interactive. If you haven’t created a tour yet, you’ll need to set one up before proceeding. Virtual Tours Creator allows you to manage multiple tours, so ensure you select the correct one.
Step 2: Upload the Floor Plan
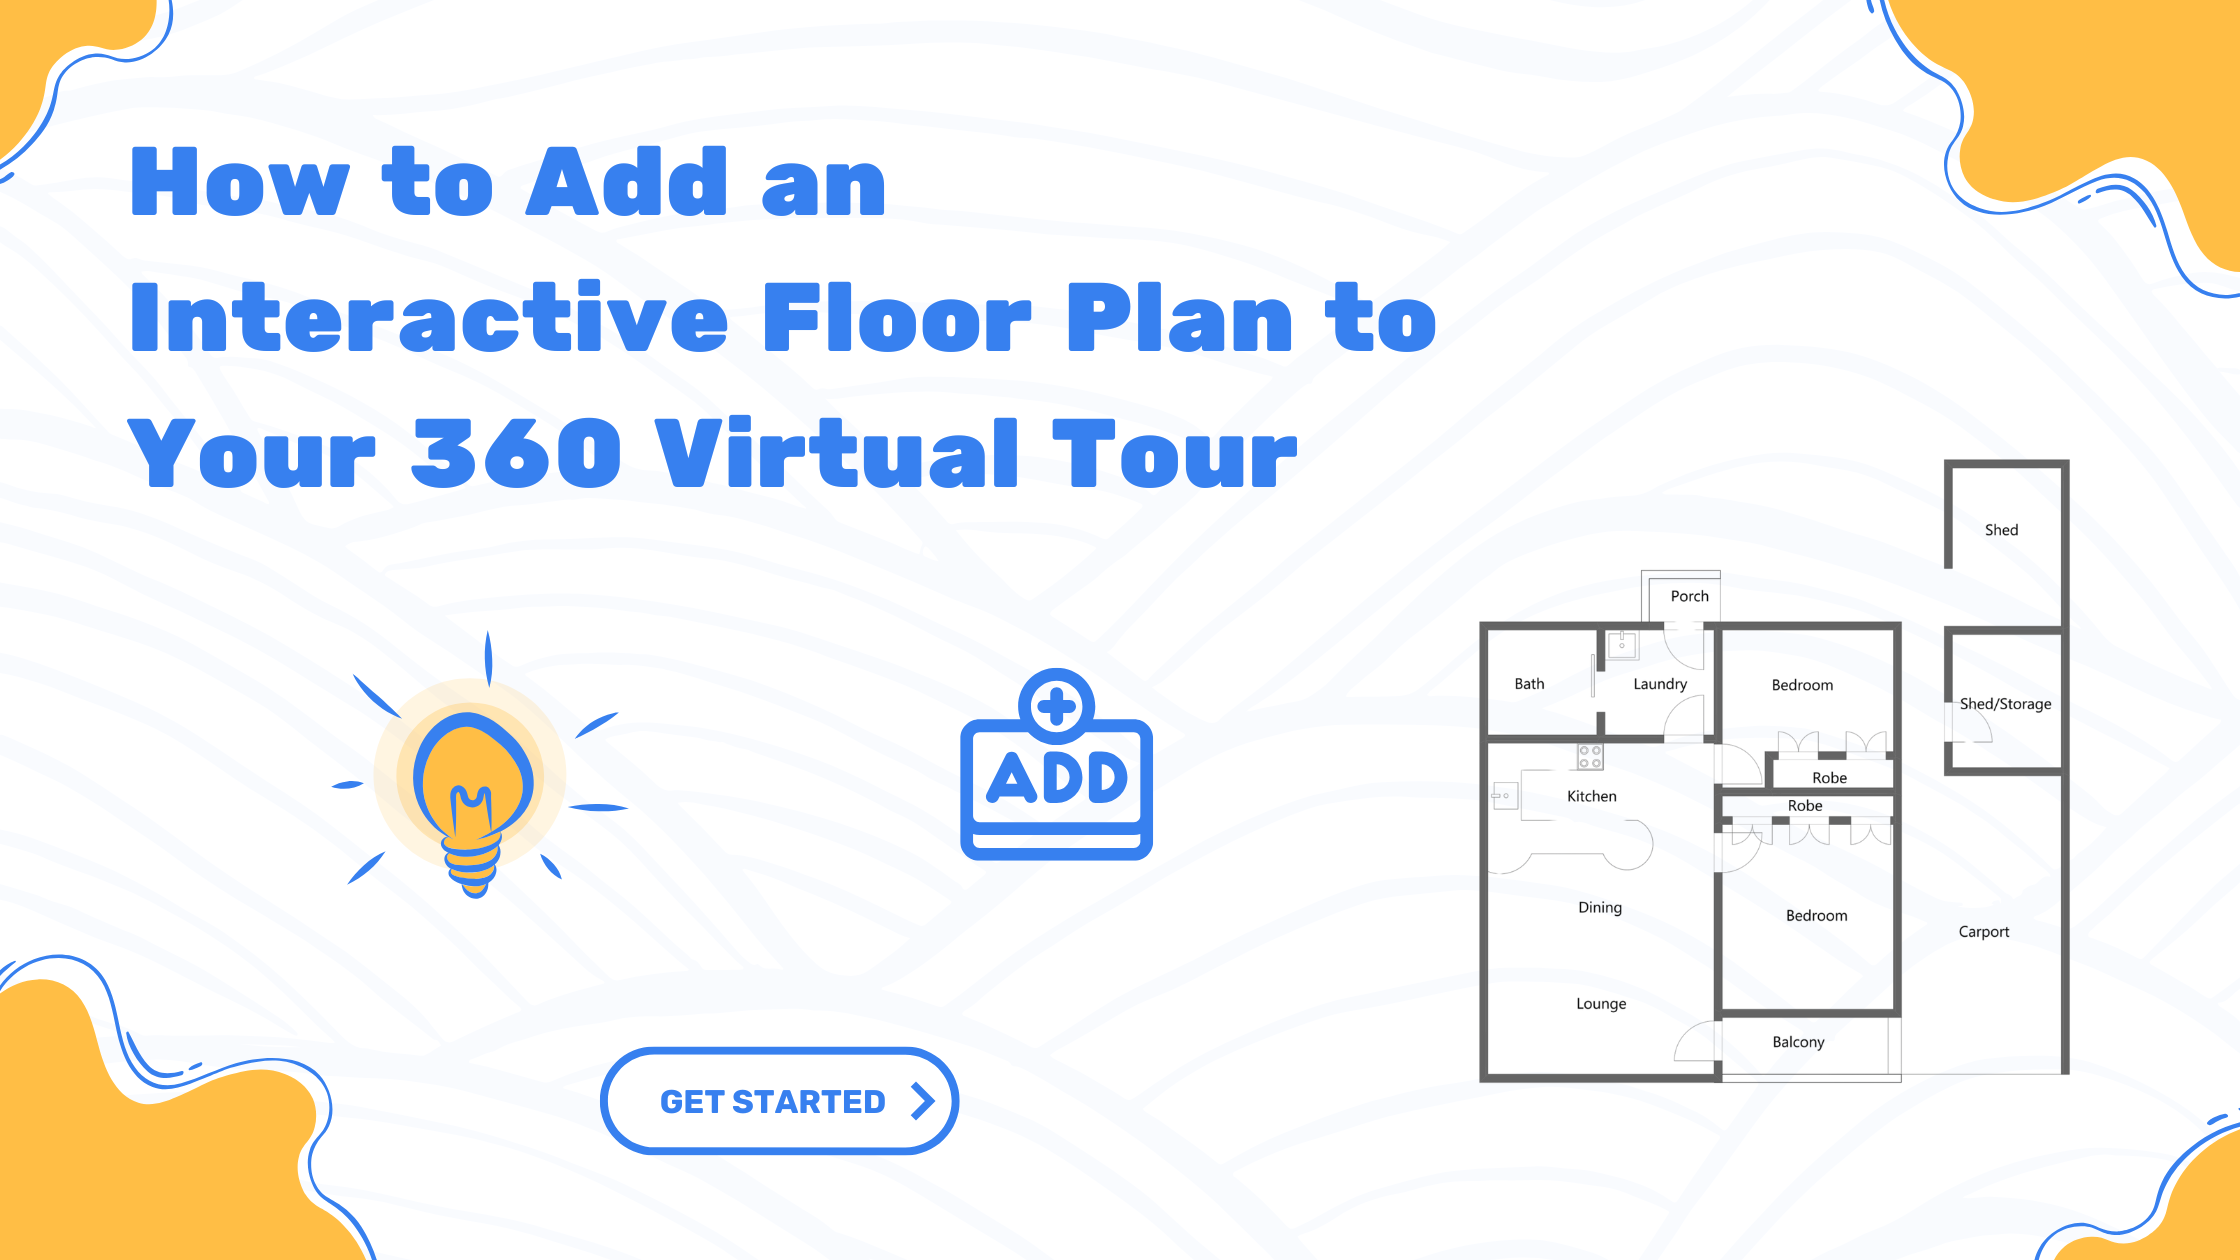
Click on the bottom right box and choose the floor plan you want to upload. Make sure your floor plan is clear and easy to read. If your plan is a scanned document, ensure the resolution is high enough to maintain legibility. For best results, use a digital floor plan with clear room labels and accurate proportions. A well-prepared floor plan helps users navigate effortlessly.
Step 3: Approve the Floor Plan
After selecting the floor plan, click the green tick button to approve it. This confirms your selection and adds it to your virtual tour. Before approving, double-check that the plan is the correct version and that no critical details are missing. If needed, adjust the brightness or contrast to enhance visibility.
Step 4: Add Hotspots to Rooms
Open the floor plan again and start placing hotspots on different rooms. Hotspots act as clickable points that transport users to the corresponding areas in the virtual tour. Right-click on the plan where you want to add a hotspot, then choose the correct location from the list. It’s important to place the hotspots precisely so that they align with the actual positions of rooms in the tour. Misaligned hotspots can create confusion for users.
Step 5: Preview and Test Your Floor Plan
Before finalizing, preview your tour and test the hotspots. Click on each hotspot to make sure it takes you to the correct area. Testing ensures that users will have a smooth experience when navigating the tour. If a hotspot leads to the wrong location, edit it before saving. Consider testing your tour on different devices, such as desktops, tablets, and smartphones, to ensure it functions well across all platforms.
Tips for a Great Interactive Floor Plan
- Use a high-quality floor plan image: Clear and detailed plans improve navigation.
- Place hotspots accurately: Misplaced hotspots can disrupt the tour experience.
- Test on multiple devices: Ensure compatibility with desktops, tablets, and mobile phones.
- Label rooms properly: Clear labels help users identify spaces quickly.
- Keep the design simple: Avoid unnecessary clutter for a more user-friendly experience.
Final Thoughts
Adding an interactive floor plan to your 360 virtual tour using Virtual Tours Creator is simple and makes your tour more user-friendly. By following these steps—uploading your floor plan, approving it, and carefully placing hotspots—you can enhance the navigation experience and provide viewers with a more structured way to explore the space.
Interactive floor plans not only make tours easier to navigate but also add a professional touch, making your virtual tour stand out. Whether you’re creating a tour for real estate, property management, or an event venue, integrating a floor plan will provide an extra layer of clarity and engagement. Take the time to fine-tune your floor plan for the best results, and you’ll create a virtual tour that feels seamless and intuitive for all users.