Contents
How to Add New 360° Panoramas to Your 360° Tour
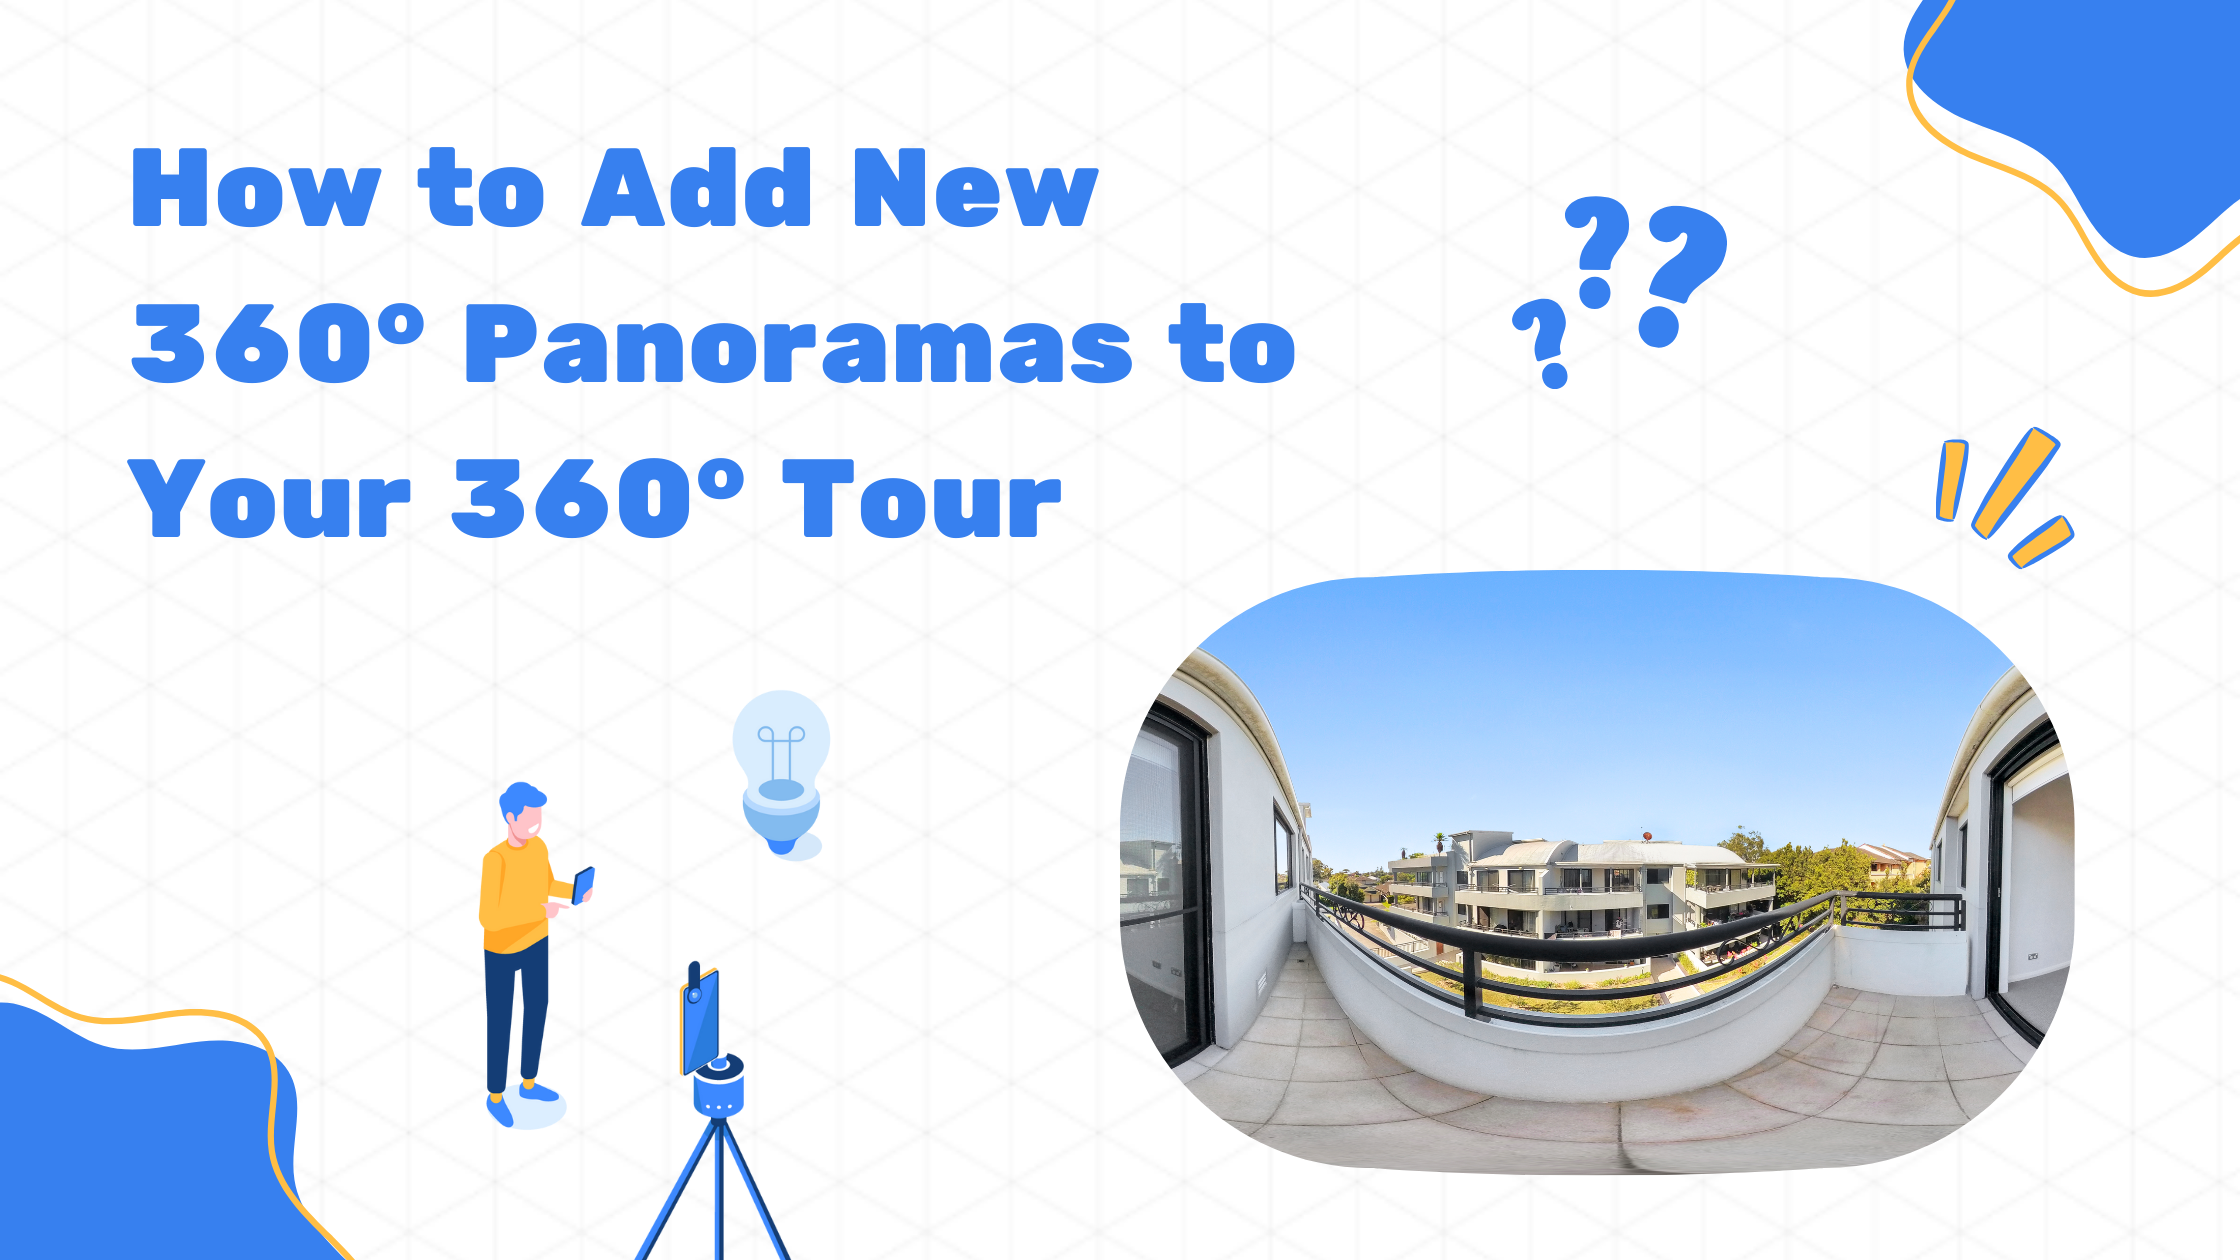
Enhancing your virtual tour with 360 panoramas is a great way to improve its quality and make it more engaging for viewers. Whether you’re creating a tour for real estate, a vacation property, or an event space, learning how to add 360 panoramas properly can make your virtual tour more immersive and effective. This guide will take you step by step through the process of adding 360 panoramas, ensuring your virtual tour looks great and stands out.
Why 360 Panoramas Matter in Virtual Tours
360 panoramas are crucial for virtual tours because they provide more than just a glimpse of the space you’re showcasing—they help create a full experience. Without high-quality 360 panoramas, your tour may feel incomplete or leave viewers with unanswered questions. By adding the right 360 panoramas, you make the virtual tour more interactive and engaging, giving viewers a reason to explore further.
Step 1: Go to the Home Page
To begin, go to your virtual tour platform’s home page. Here, you’ll find a list of your existing tours. Select the one you want to add 360 panoramas to. This is the first and easiest step in the process.
Tip: Before you start uploading, it’s a good idea to organize your 360 panoramas in a folder. This will make it easier to find the ones you need when it’s time to add them to the tour.
Step 2: Select the Tour and Click ‘Edit’
Once you’ve located the tour you want to update, click on the “Edit” button. This will open the editing options for your tour, where you can make changes, add new 360 panoramas, or update existing ones.
If you’re creating a virtual tour for real estate or any other industry, this is where you can add more 360 panoramas to showcase different areas. Whether it’s a cozy living room, a spacious backyard, or even a rooftop view, each 360 panorama helps tell the story of the space you’re highlighting.
Step 3: Add the Next Panorama or Photo
Now that you’re in edit mode, it’s time to add the 360 panoramas. Virtual tours rely on 360-degree panoramas to give viewers a fully immersive experience.
When you’re ready to add a new 360 panorama, you’ll have two options:
- Choose Files –You can manually browse your computer for the 360 panorama you want to add.
- Drag and Drop – This simple method allows you to drag a 360 panorama from a folder and drop it into the designated area in the tour editor.
360 panoramas are especially useful for showing wide spaces like large rooms or outdoor areas. For instance, if you’re showcasing a home, a 360 panorama of the living room or backyard will give the viewer a true sense of the space.
Step 4: Save Your Changes
After uploading the 360 panoramas, make sure you save your changes. It’s easy to overlook this step, but it’s crucial to ensure your 360 panoramas are added to the tour. Simply click “Save,” and your new 360 panoramas will be added to the virtual tour.
If you forget to save your changes, the 360 panoramas won’t be added, and you’ll have to redo the process. Saving ensures that the work you’ve put into uploading and editing your tour is preserved.
360 Panorama Quality Matters
When adding 360 panoramas to your tour, it’s important to think about their quality. Clear, high-resolution 360 panoramas will make your tour more appealing to viewers. On the other hand, blurry or low-quality 360 panoramas can make your tour look unprofessional, which might turn people away.
Here are some quick tips for ensuring your 360 panoramas look their best:
- Lighting: Good lighting can make a huge difference in how a space looks. Natural light is ideal, but if that’s not possible, use bright and even artificial lighting.
- Angles: Take 360 panoramas from different angles to give viewers a complete perspective of the room or space.
- Resolution: Always use high-resolution 360 panoramas for clarity and detail.
Step 5: Enhance the Experience with Virtual Staging
In some cases, virtual staging can elevate your tour by showing potential buyers or renters how a space could look with furniture and decor. Virtual staging is especially useful for empty rooms, where it’s harder for viewers to imagine the potential of a space. With virtual staging, you can add digital furniture and accessories to create a welcoming environment, giving your tour a polished and complete look.
Conclusion
Adding 360 panoramas to your virtual tour is a simple yet essential step in creating an engaging and informative experience. Whether you’re showcasing a home, rental property, or event space, 360 panoramas bring your tour to life and give viewers a clearer understanding of what the space offers.
By following these steps—starting from the homepage, selecting your tour, and uploading your 360 panoramas—you’ll be able to add them quickly and efficiently. Don’t forget to save your work, and always aim for high-quality, well-lit 360 panoramas to keep viewers interested. With the right 360 panoramas in place, your virtual tour will be much more compelling and effective.