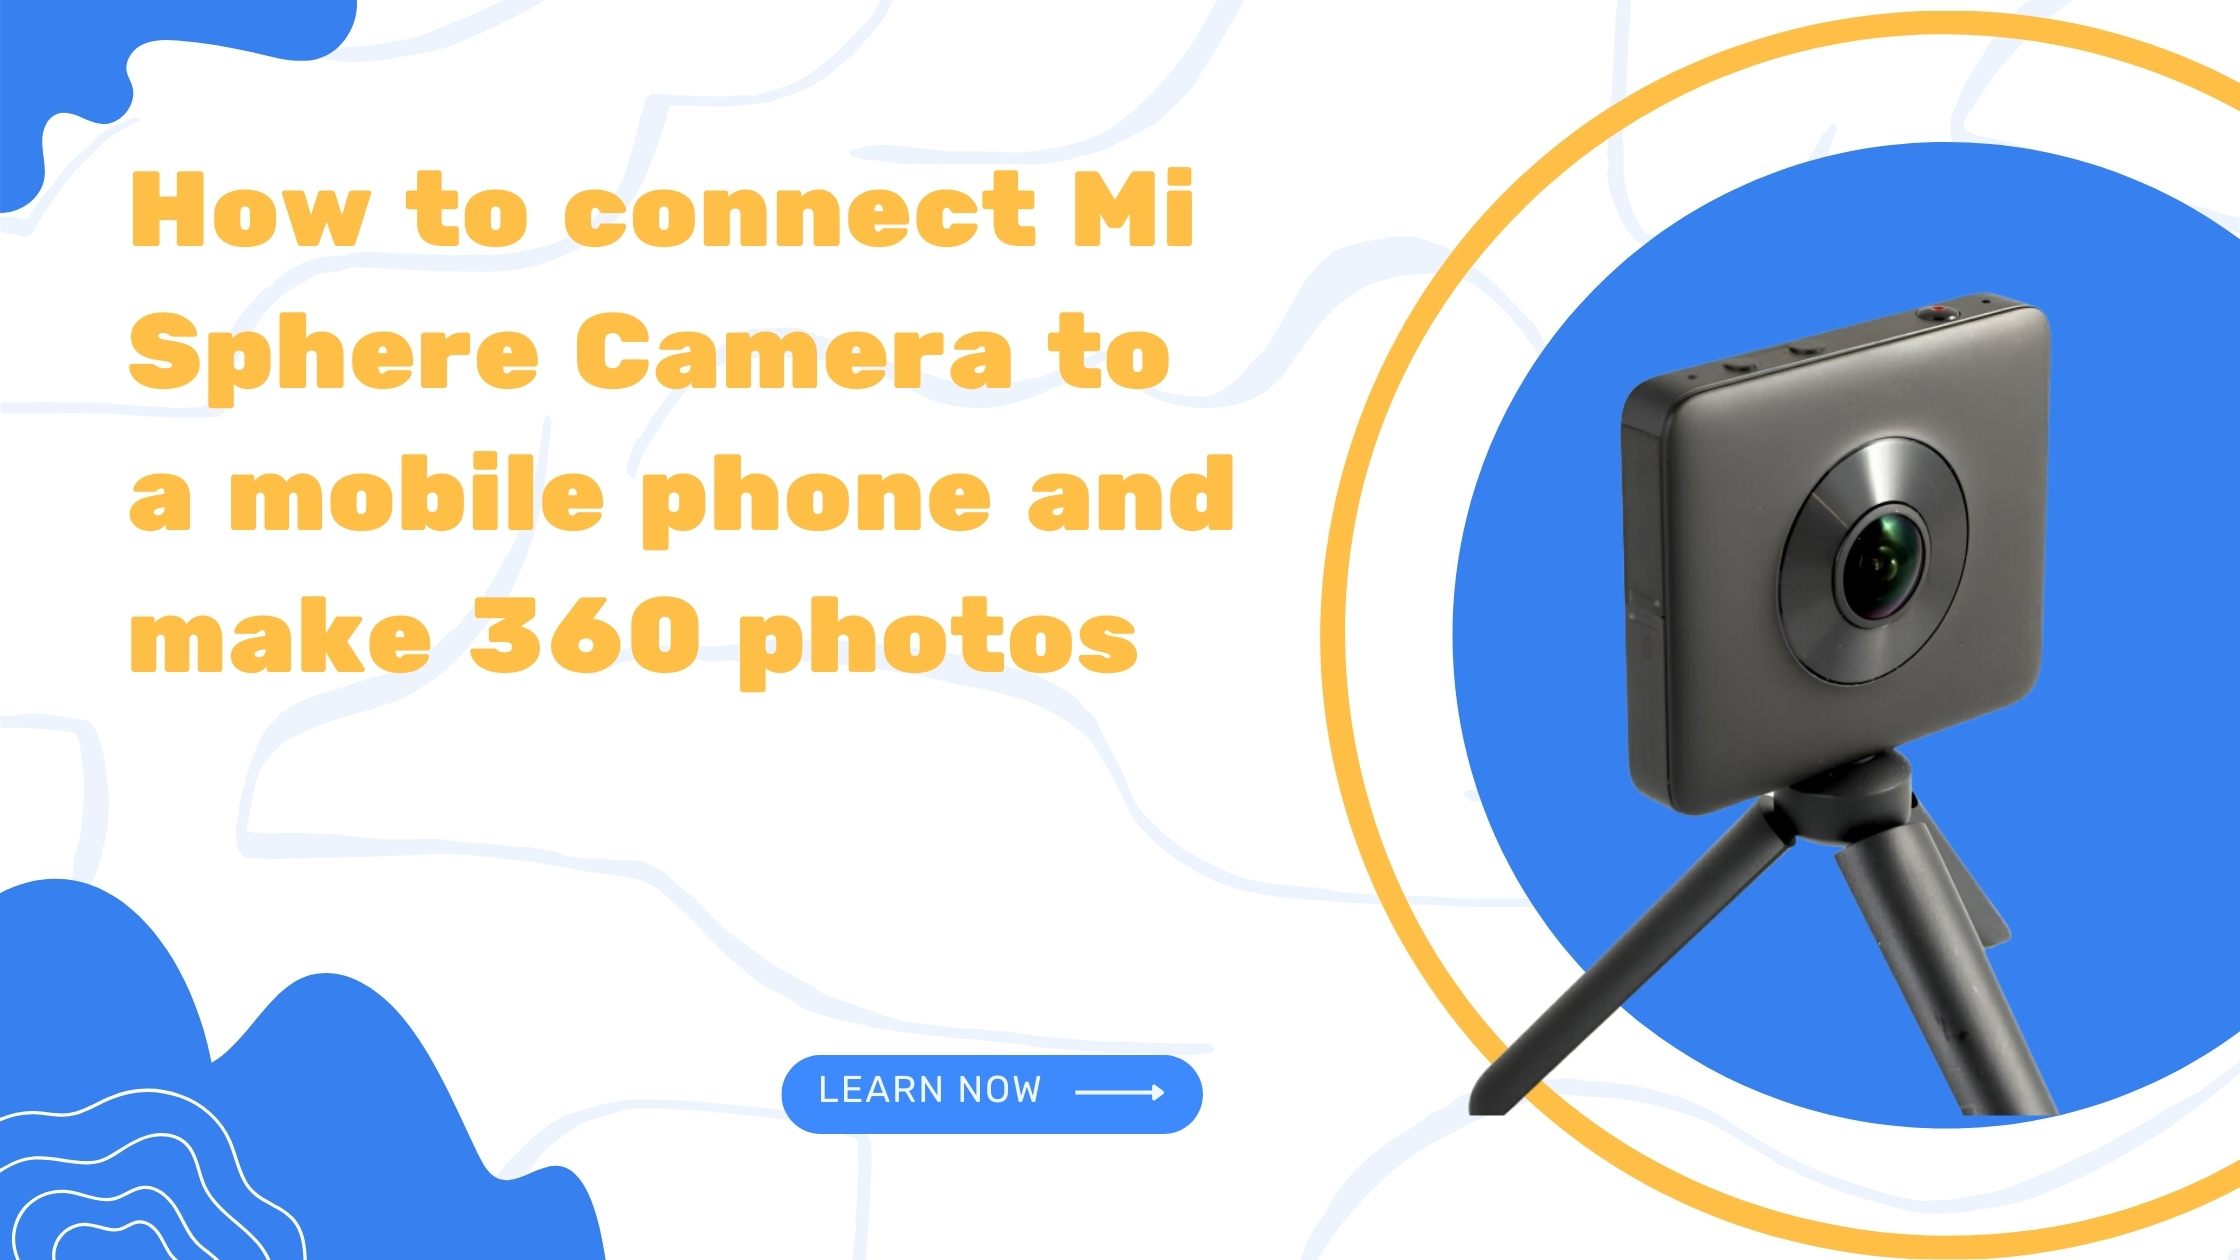
Hi, welcome to another Virtual Tours Creator tutorial. Today we will start from the basics and I will show you how to connect your Mi Sphere camera to your mobile phone using wifi.
First, turn on the camera, then turn on the wifi. We have to find your camera in your wifi settings. It usually comes up under the name of MJ xj or Qj xj.
And when you log in for the first time, I’m gonna ask you for the password, which is always 1, 2, 3, 4, 5, 6, 7, 8. Join. When the camera is connected, it makes the sound and you are ready to jump to your Mi Sphere camera, up to go to your live preview. There we go. You press the orange button down the middle of the screen.
It’s gonna ask you to choose your model. I have quite a few of them. You probably gonna just have one once we connect it. You are ready to shoot. You see a preview in 360. You have to make sure you are in the photo mode. When the button is red, it means you are in the video mode. So just, simply press the camera icon, and switch to photo mode.
You can have a browser around yourself and see the room in 360. And to take your photo, just press the button in the middle. There we go. Your photo is ready and you can find it in the library, which sits down here. Just press this button. It takes you to the library where all the photos that you take leave. And now you would like, we would like to download them to the phone as we’re gonna have to transfer them to the computer later. But that’s in the next tutorial. Thank you for now.


