Contents

Creating an engaging and user-friendly virtual tour can be a complex task, especially when dealing with multi-level properties. But don’t worry, we’ve got you covered! In this step-by-step guide, we’ll show you how to efficiently add and organize multiple floors in your virtual tour. By integrating these strategies, you’ll improve user experience, enhance navigation, and increase engagement on your platform.
Step-by-Step Guide: Adding and Organizing Multiple Floors in Your Virtual Tour
📥 Uploading Photos for Virtual Tours
The first step in creating a multi-floor virtual tour involves uploading your photos. Traditionally, these images were all added to one level—usually the ground floor. However, in order to offer a complete and detailed view of the property, we need to distribute the photos across different floors.
🏗️ How to Add New Floors in Virtual Tours
To make your virtual tour more interactive and engaging, it’s crucial to add new floors. This begins with the first floor. Adding a new floor to a pre-existing virtual tour isn’t complicated; it just requires a bit of time and attention.
🗺️ Photo Uploads for New Floors
To add a new floor to your virtual tour, the first step is to upload at least one relevant photo. This image could depict any significant area on the new floor.
🖼️ Choosing Images for New Floors
As a user, you have complete autonomy over the selection of images for each floor. Opt for an appealing panorama such as a spacious living room, an enticing view from a balcony, or an impressive office setup, for the first upload to the new floor.
🕹️ Assigning Floors in Virtual Tours
Before you can upload an image, the floor setting needs to be adjusted from the default ‘ground floor’ to the desired level, like ‘first floor’. This ensures each image appears on its correct level in the tour.
🎨 Designing Multi-level Virtual Tours
When dealing with multi-story properties, it’s essential to divide the virtual tour into separate floors, such as the ground floor, first floor, and second floor. This offers a thorough view of the property, improving the user experience.
🔃 Reallocating Photos to Different Floors
Once the first floor has been created, it’s possible to move images from the ground floor to the first floor. This helps in maintaining a neat and organized virtual tour.
🔀 Arranging Images Across Floors
This step involves opening the photo organizer and utilizing the drag-and-drop feature to relocate photos to their appropriate floors. Organizing your images in this way makes navigating through the tour a breeze.
✅ Evaluating Your Virtual Tour
After you have reassigned and organized the images, you can review the entire tour. At this stage, ensure each floor has been correctly designated and all photos are properly placed.
📥 Ordering Multi-floor Plans from Virtual Tours
Virtual tours also offer an exciting feature that allows users to order multi-floor plans directly from the tour. This function adds an extra layer of convenience and interactivity to the user experience.
📌 Conclusion
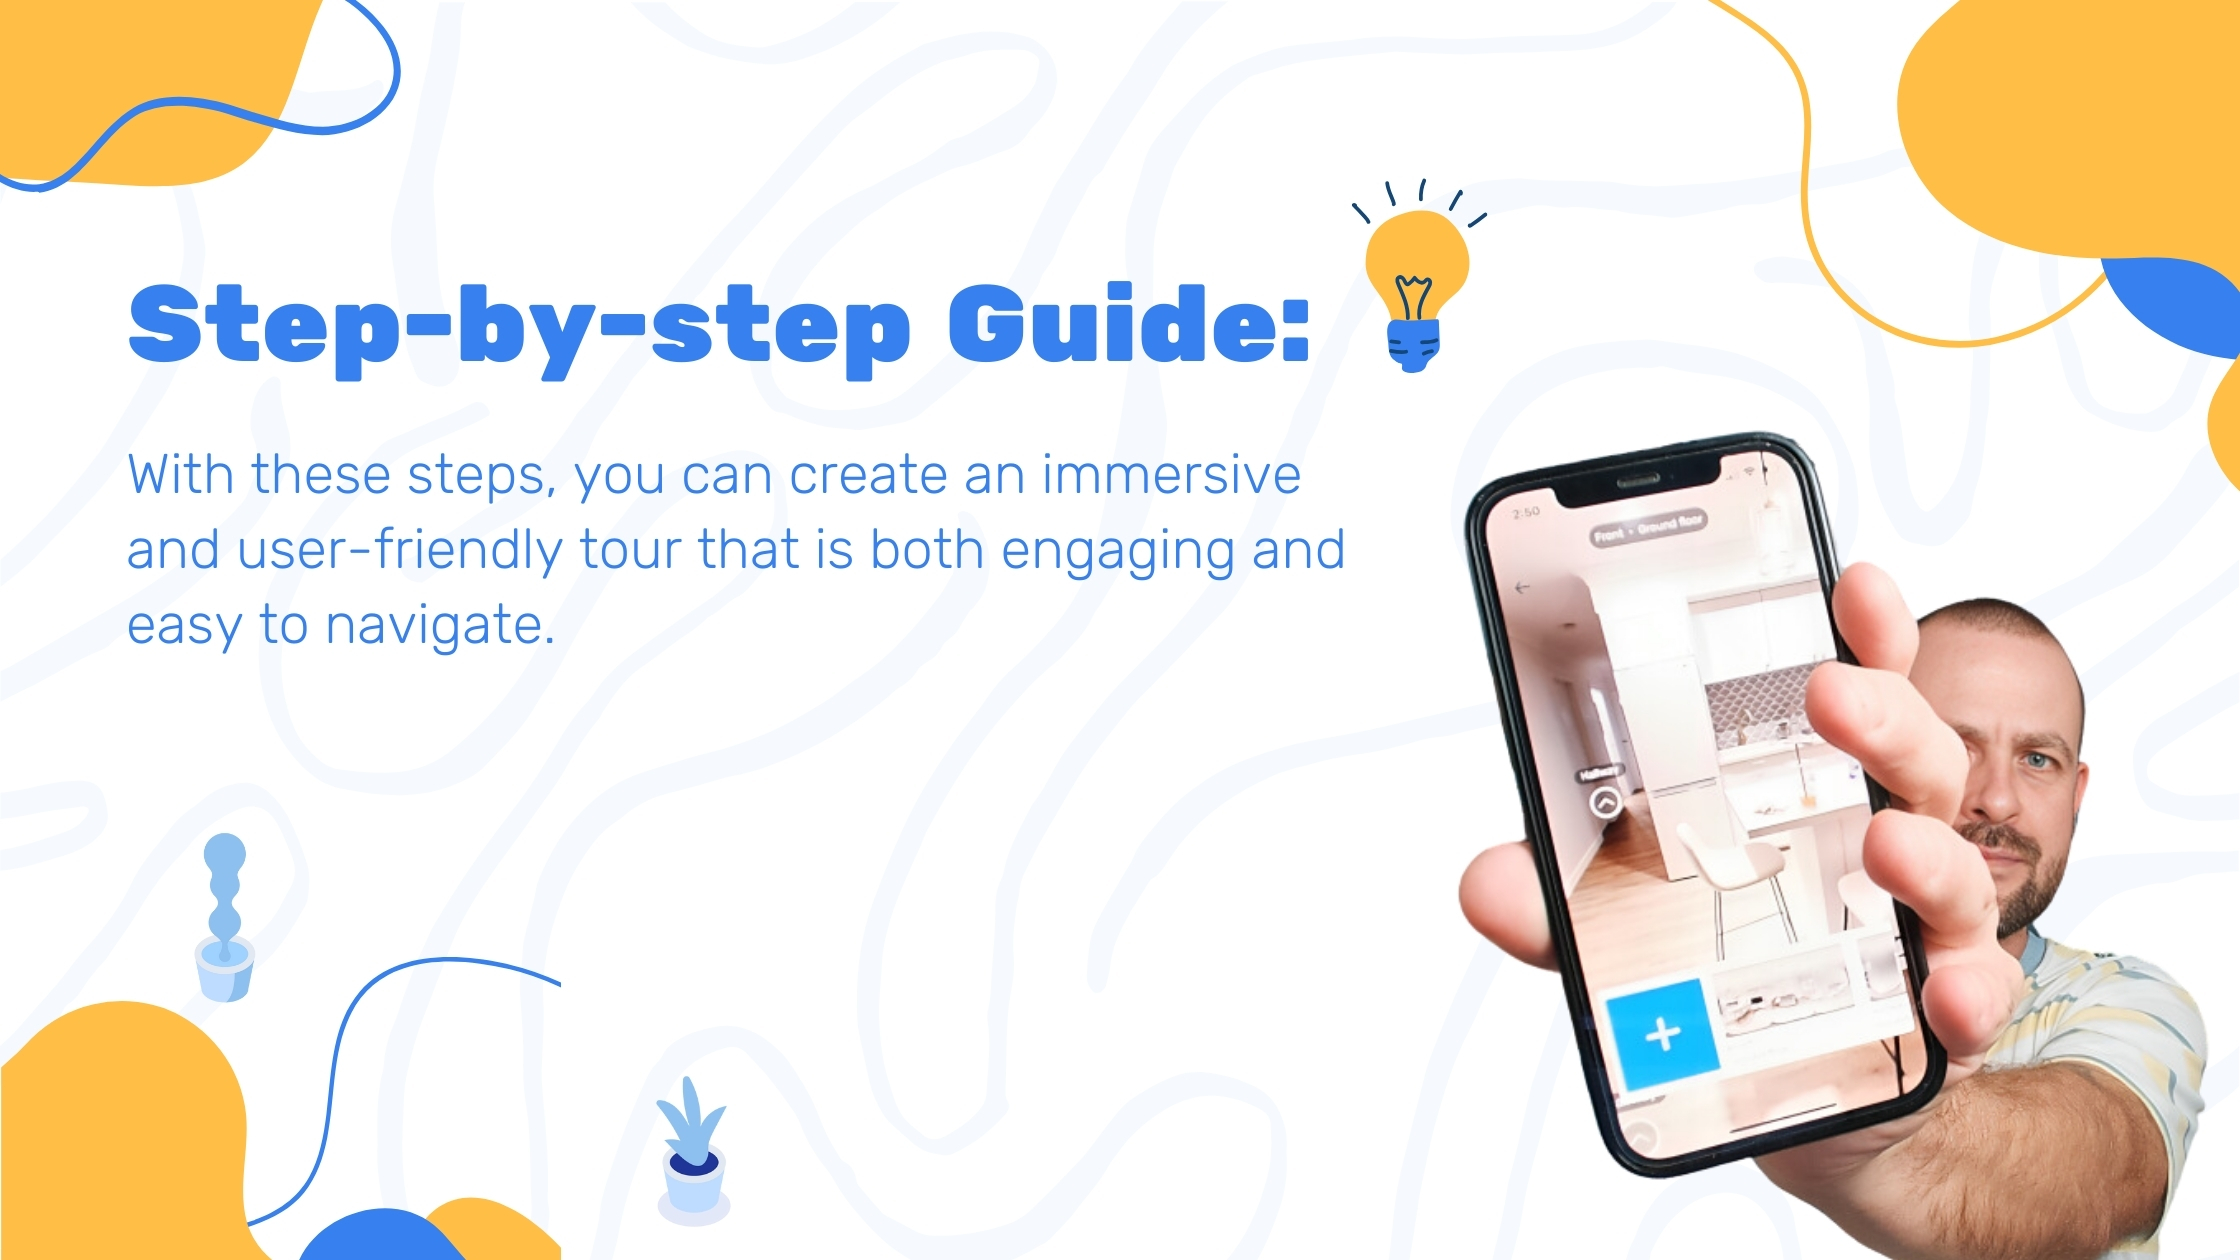
Building a multi-floor virtual tour may seem daunting at first, but by following these steps, you can create an immersive and user-friendly tour that is both engaging and easy to navigate. Whether you are a seasoned professional or a novice, this guide has something for everyone.
Add new floors to a virtual tour if you didn’t create them in the first place. So you uploaded all your photos to one floor. Now you would like to add the first floor, cause you only have the ground floor. What do you need to do, you have to upload one photo first to the new floor. So you go add the next panorama. Choose gonna find the living room and before you upload it, you need to change the ground floor to the first floor.
And that’s how we are going to create the additional floor in the virtual two app. So if you would like to order a floor plan for a free-story house, you need to divide it into the ground floor, first floor, and second floor. Now that we’ve got the first floor, we can reassign the forest from the ground floor to the desired first floor. So we just gonna open our photo, organize our, we can drag and drop them. And you can simply choose the first floor that you just created, and another one and another one. And when you close it, you’ve got the ground floor, the first floor, and now you have your tour organized.
You can also order a multiple-floor plan from the virtual tour. Thank you. Bye-bye.


