Contents
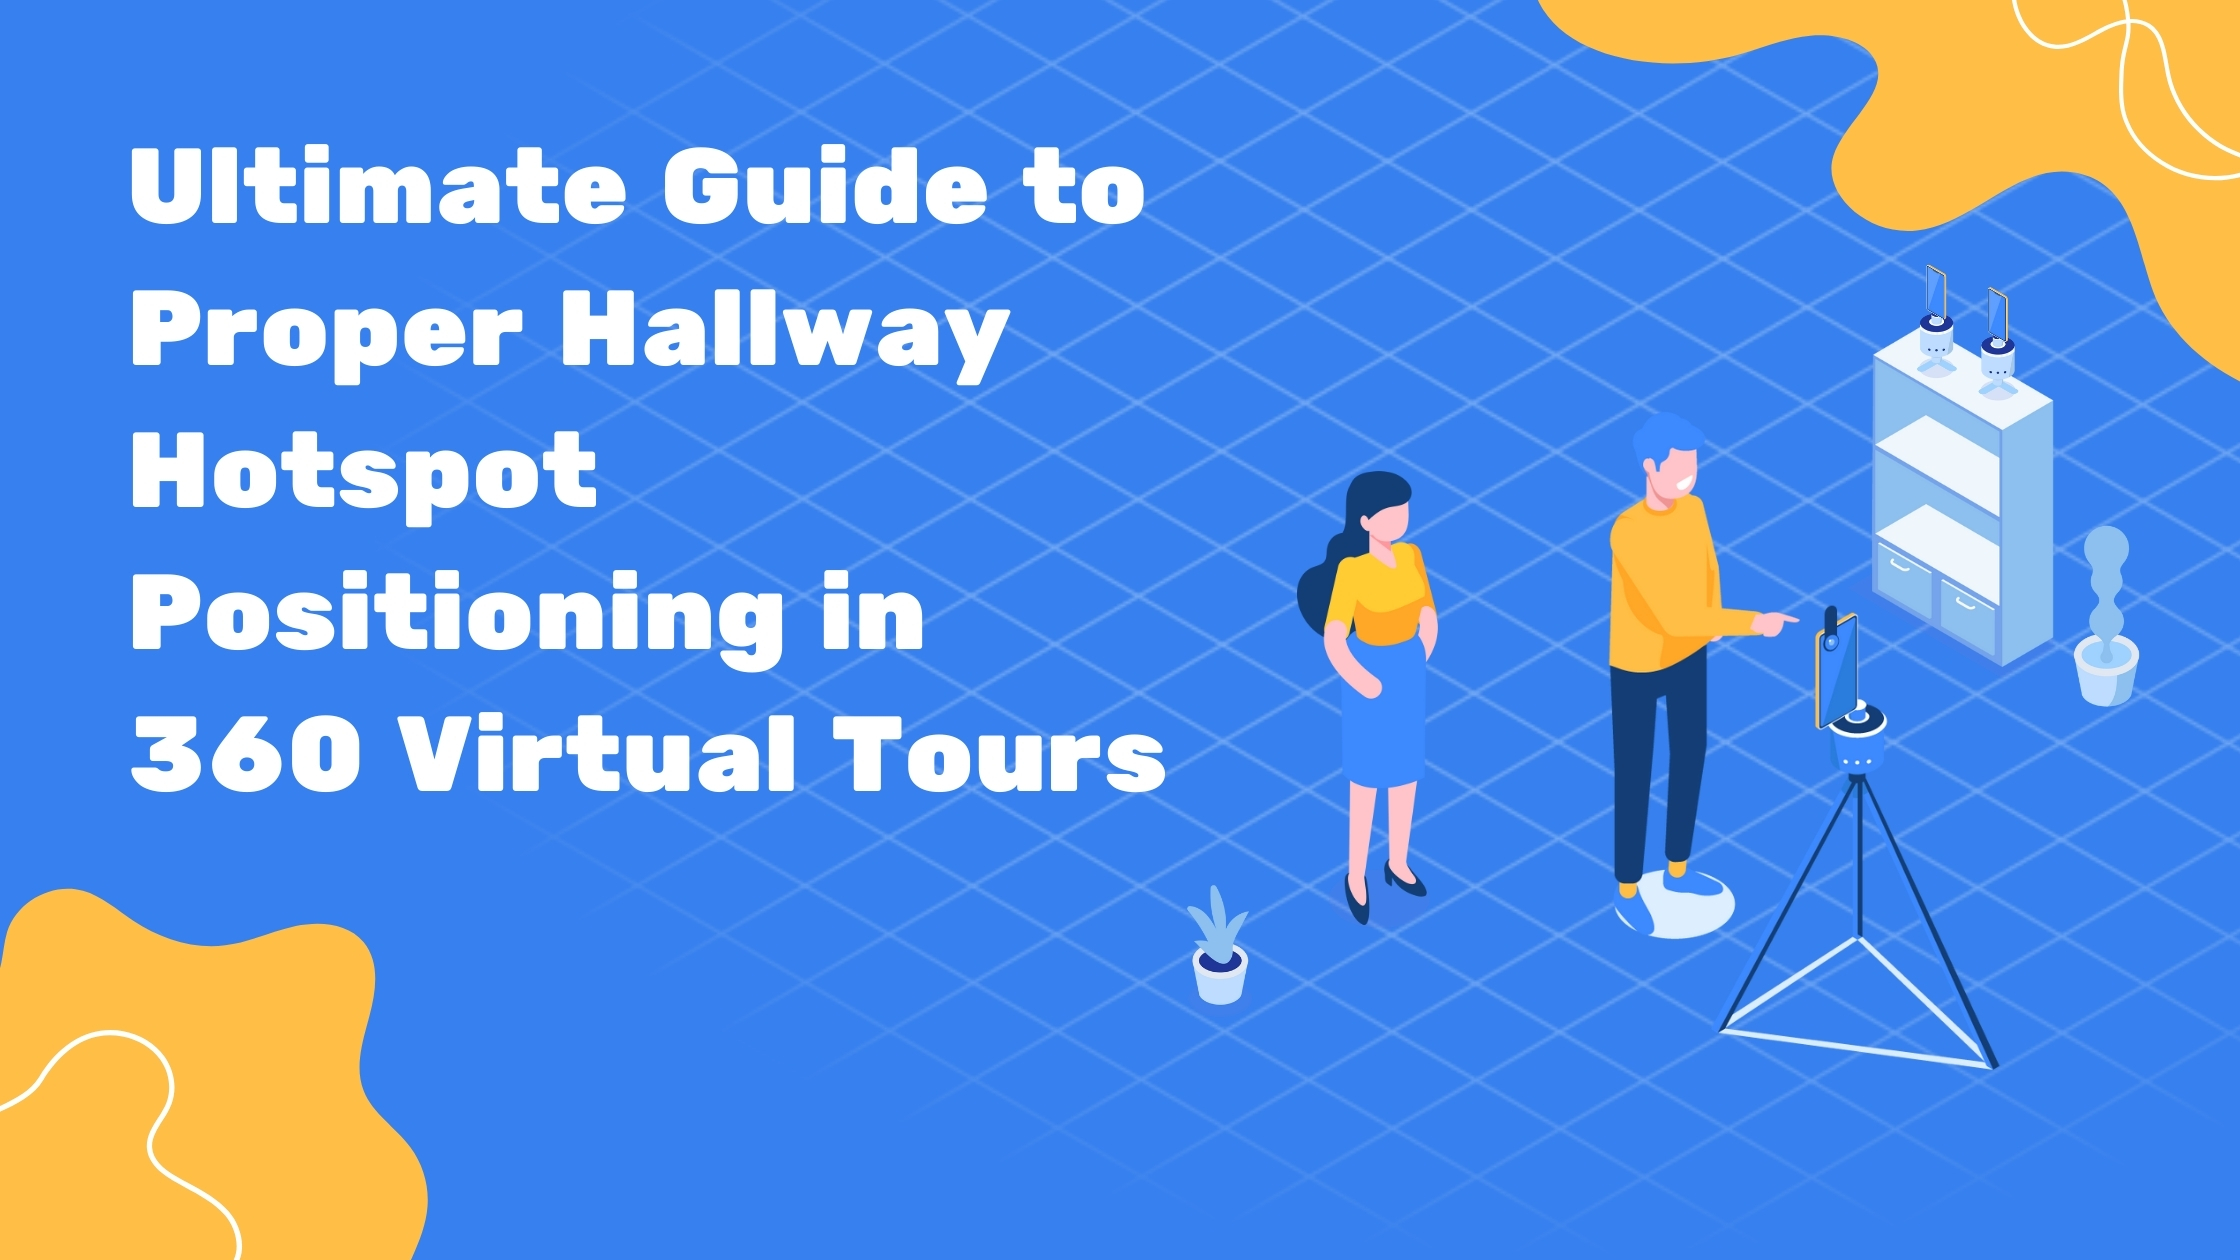
Ultimate Guide to Proper Hallway Hotspot Positioning in 360 Virtual Tours
Embarking on your virtual tour creation journey is simplified with the Virtual Tours Creator app. All you need to do is hit the screen button to initiate the perfect HDR capture. Remember, to achieve a comprehensive view, keep all doors and windows open. This way, every room is visible from the hallway.
Ultimate Guide to Proper Hallway Hotspot Positioning in 360 Virtual Tours
💡 Ultimate Guide to Proper Hallway Hotspot Positioning in 360 Virtual Tours
Virtual Tour Creation App:
Simplifying the 360 virtual tour creation process using our user-friendly application.
Preparing for the Perfect Shot:
Make sure all windows and doors are open for a comprehensive view of each room from the hallway.
Avoiding Tripod Misplacement:
Steer clear of positioning the tripod on an unstable surface like a chair or staircase, as it needs level ground for an ideal shot.
Keeping the Ideal Distance:
Maintain a distance of 20 to 30 centimeters from any edge for an optimum shot.
Ensuring Visual Continuity:
Each photo spot should have an unobstructed view of the next one to uphold continuity in the tour.
For L-shaped or wider hallways, capture multiple photos to include all doorways.
Capturing Outdoor Scenery:
Enhance the virtual tour by including the property’s external shots like the backyard, balcony, and nearby attractions.
Establishing Connection Points:
Vital to hallways, connection points ensure a seamless visual journey through the property.
When it comes to tripod placement, never opt for an unstable surface like a chair. Ensure a gap of at least 20 to 30 centimetres from any potential obstacle. The key to an engaging tour is maintaining a clear line of sight to the next photo spot.
Complex hallways require special attention. In the case of L-shaped or wider hallways, take multiple shots to include all doorways. Similarly, external shots of the property and local attractions contribute to the richness of the tour.
Throughout your virtual tour, always aim to establish a connection point in hallways to maintain a clear line of sight and a sense of continuity.
Ready to create your engaging virtual tours with the VTC360 setup? Log in to virtualtourscreator.com.au and create your first virtual tour for free. Don’t hesitate to reach out on Facebook with your queries and comments. Can’t wait to see your amazing results!
The comprehensive guide has detailed insights about creating virtual tours, from preparing for a perfect shot to establishing a connection point for continuity. The blog emphasizes using a virtual tour creation app and ensuring the correct placement of tripods. It provides a step-by-step walkthrough of the process, ensuring high-quality, engaging virtual tours. Enjoy creating your virtual tours with these expert tips.
So once it’s all set up, then you log in to the Virtual Tours Creator app. You just don’t press the button on the screen and it’ll start rotating. It’s gonna take eight perfect HDR for us. Always keep all windows open, all the doors open so you are able to look inside of every door from the hallway.
See that on included floor plan. Also, never put the tripod on any chair because that’s not quite dry, okay? Keep a distance of at least 20 to 30 centimeters from any fair chance. And the most important thing is always to have a clear line of sight toward the next point where you’re going to shoot the next Panorama.
It means if you’re going to move the tripod from here to the staircase, you’re going move now to make sure from the staircase you’re gonna see the point where you previously to the photo. That will allow us for continuity in the virtual tour. And nobody will get lost. Even though we moved just two meters away from the previous spot in the staircase.
Never put the tripod on the stairs cause it will not be leveled. But you need to see from me where we are going to go. We’re gonna take the next photo up on the landing, but if we only took the photo of the landing, we wouldn’t see the tripod properly in the living room where it was standing. So we want one spot to connect to have a clear line of sight.
We just came up from downstairs and this is an L-shaped hallway. So what we need to do, we need to take more than one forum, take one where the cameras are down, so we have a clear line of side downstairs, there’s a bedroom here and there’s the bedroom there, and the camera is in the bathroom. So we need to see the entrance to both bedrooms. That’s why you’re gonna take a photo in. And this is gonna be a connection point in the hallway always. When you have long hallways or widening hallways, take a photo in front of all the doorways.
Always make sure you take a photo of the property outside. Take a photo of the backyard, and take a photo of the balcony. Also include in your virtual tours, the nearby park, a beach, or any place of interest that is made at the value of the property. And this is it.
Are you ready to go and shoot your beautiful virtual tools with the VTC360 set? I hope you enjoyed it. Subscribe to this channel. Go log in to virtualtourscreator.com.au and create your first virtual tour for free.
If you have any questions, keep me up on Facebook, and leave your comments. Love you guys. I’m super excited for you to use it and I can’t wait to see the results. See ya!