
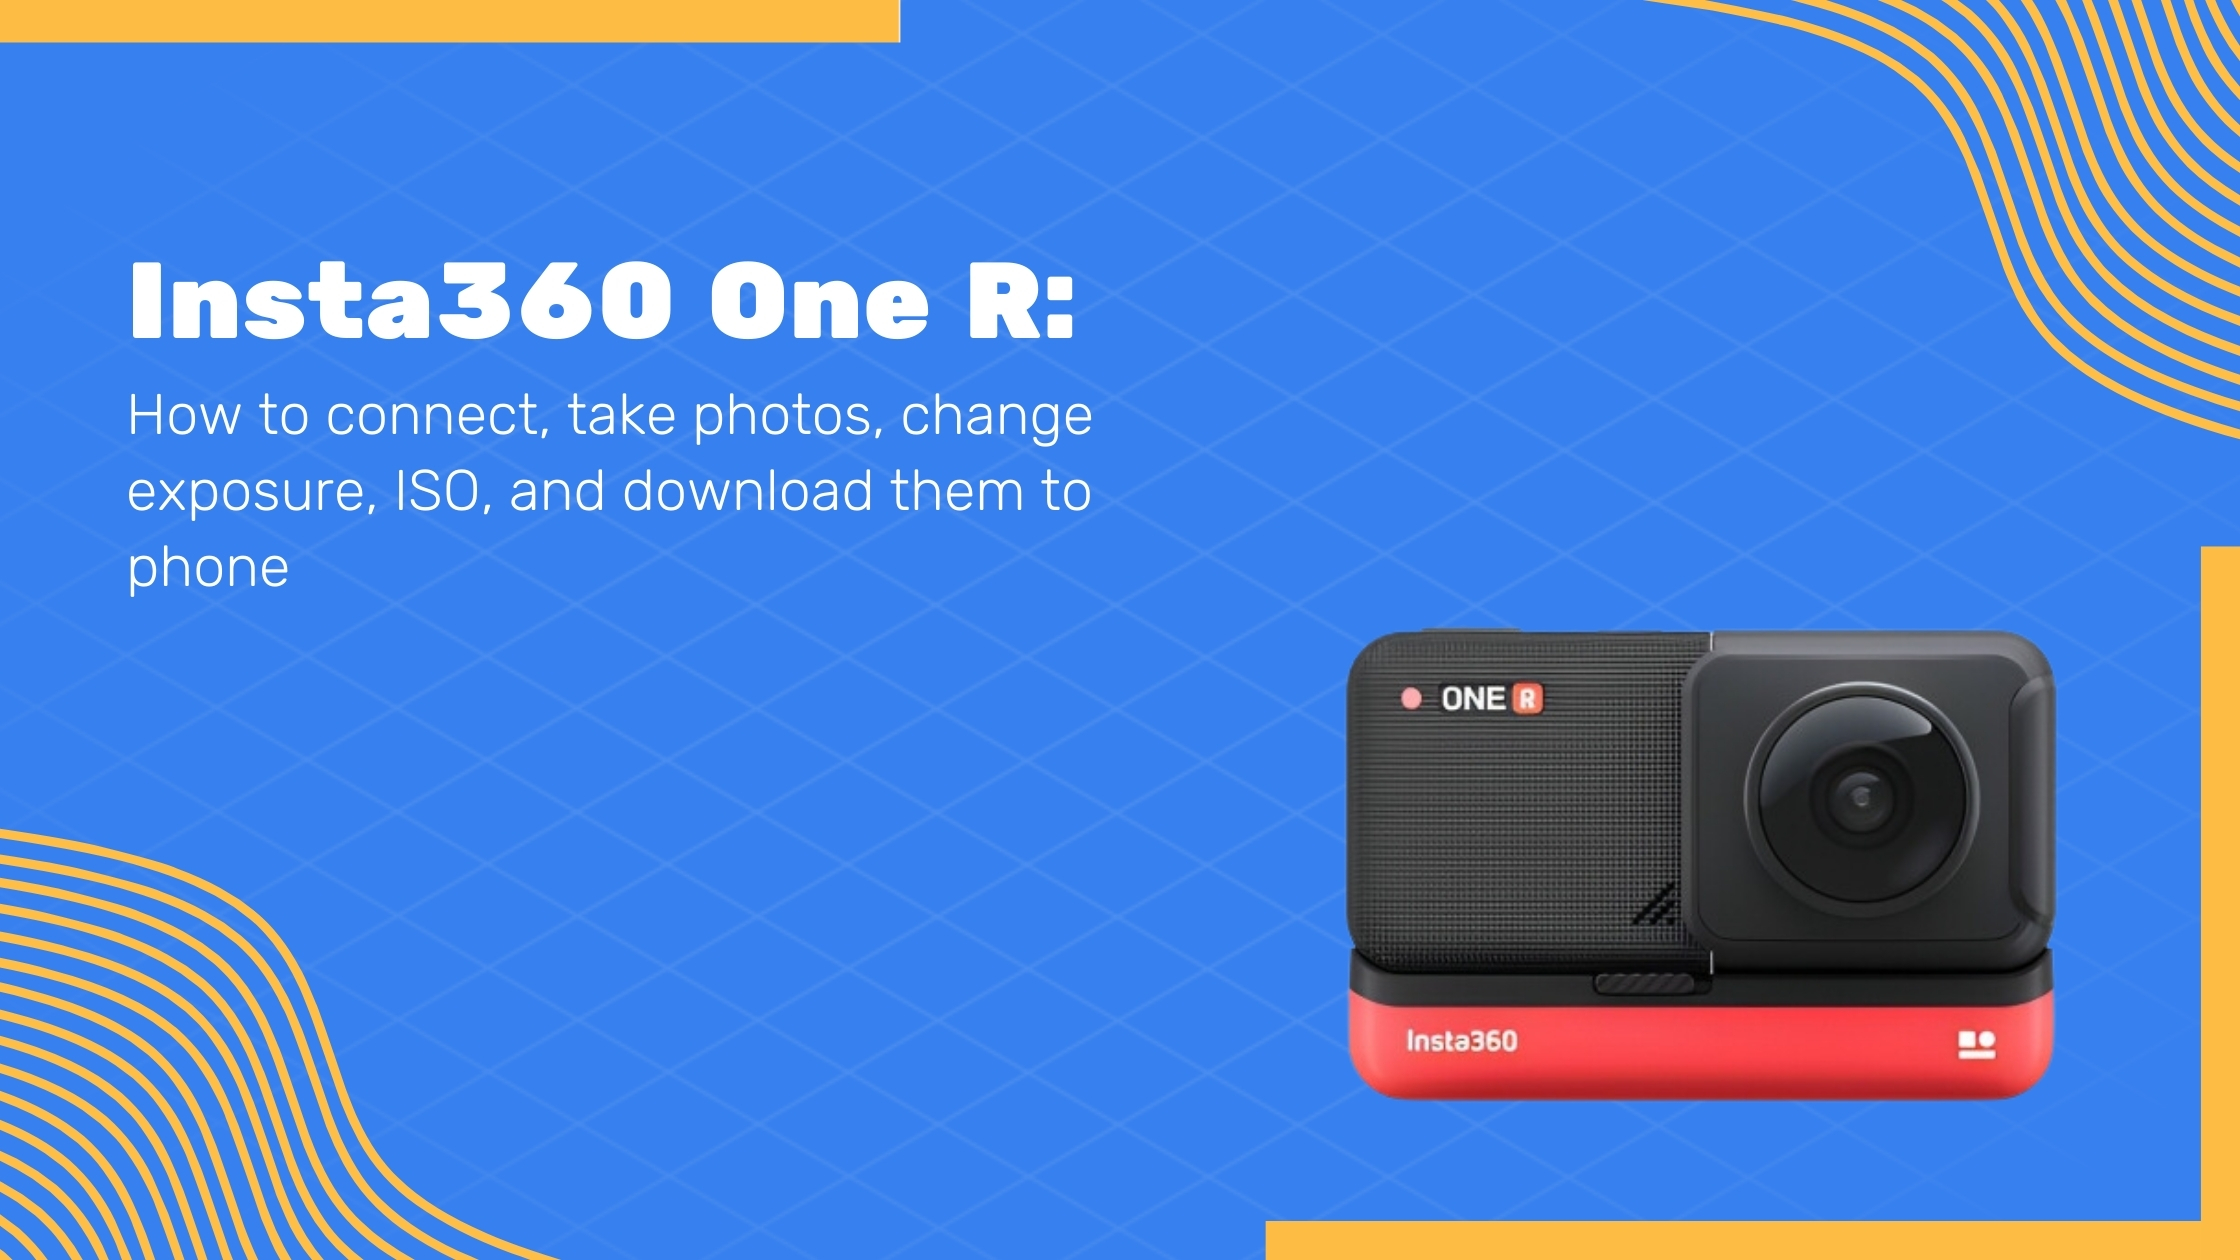
How to connect Insta360 ONE R, take photos, change exposure, ISO and download them to phone

Hey guys, this is Tom from Virtual Tours Creator and in this tutorial, I’m gonna teach you everything on how to operate your Insta360 One R camera, starting from what app to download, and then we’re gonna set up the camera, upload the firmware, and we will also take some photos.
So let’s start with downloading the app. You have to go to app store and find the Insta360 One R app, which is a red circle, like that. All we have to do is press download. When the app is downloaded, just press open. We just have to follow all the instructions and allow everything. Allow while using the app use Bluetooth, send notifications. And now it’s ready to operate.
So what we have to do is go to take a photo, press the yellow button, and until they tell us to connect now to the camera. What we have to do is turn on the camera by pressing the power button on top. You have to previously charge the app and put the memory card in. And now it’s gonna ask you to choose the language. And because it’s a touch screen, you just touch this little tick to allow for English. Now, it’s telling you to install the app that we already installed to activate the camera. So let’s go, have a preview and go connect now. We have to choose the camera. The camera that it found should be our camera One R, update firmware, always update anything on those apps because that might cause your camera to stop working. Don’t worry if this turns off, is just for battery saving. So let’s go start download. Okay, now the download is complete and we have to connect to the camera to update the firmware. So the firmware is now in the app not in the camera just yet. So you just press this yellow button, connecting camera to the phone, you go yes confirm on the screen. Join the network. Latest firmware, download it again, update firmware. See it says it’s checking firmware uploading. Almost there. Confirm that it’s been uploaded and now you have to wait for the camera to turn itself off and back on. See when the light is blue it’s still on, but it will turn itself off. There you go, it turns itself back on. You can confirm the language again and confirm here. Now we have to reconnect again. Choose your camera, join, activate, start and that’s our full preview in 360. There we are, we are ready to shoot photos.
First, we have to make sure we are in the photo mode and as you can see here, the app opens automatically in video. So just click on the photo option next to it. Now we can shoot our 360 photos. You can see the preview in 360, show you a bit of those windows. First of all, we’re gonna have to check our photo mode. So, for starters, we want to shoot in single shot, it will just take one photo for every location. In the future, you might start shooting photos in HDR, but we will talk about HDR in a separate tutorial. Okay, HDR will give you better quality photos and the windows that you see on the far right will not be so blown out. But for now let’s focus just on single shot. So when you go to photos, you can click in here to choose which mode, it is now set to single shot. Now we’ll start with the last option here on the right-hand side. If you scroll this menu to the left, it says INSP, this means it’s a JPEG file. So the simplest photo mode, let’s change that to RAW + INSP and this means the camera will also shoot those photos in RAW. That means they’re gonna have more details in it. Don’t ask too many questions, just change it to RAW and shoot like that the easiest option okay? The second thing that you have to understand which will be the most important one for you, is the EV. So the exposure, this little sun is a logo that you click on and now, if you scroll it to maybe plus two, you can make the photo brighter, yeah? If there’s no electricity in the house, you might brighten up the room, but you have to watch out because you might blow up the windows and if the windows are blown up in the zero mode, you can simply go to maybe minus 1/2 and then the windows look much better. Can you see that? So let’s leave it on minus 1/2 or on zero at the moment. Now, and the last option that you have to remember, which its this one, it says Auto is the ISO priority. So in here, we’re gonna have to find the ISO priority and we’re gonna shoot with ISO, mainly set up to 100, you can set it up to 200, 400 but you have to remember, the more the higher the ISO is, the more noise and grainy we’ll have in the photos. So keep the ISO to an absolute minimum in here, its just in 100. So we will always shoot with single shot with ISO priority set to 100 with the photos in RAW and now we can play with the exposure. If this room looks too dark, you can change it to plus 1/2 and brighten it up or plus one. But you probably worry about the windows, so let’s go the other way around and go to zero or minus 1/2. And that’s it and now we’re ready to shoot. Taking the photo. And once the photo has been taken, we’re gonna go to the library where you can find our photos. You can find it in the album next to that yellow button to show you all the photos that you took before. Now what you have to do is download those photos to your mobile phone first. When you go to your library, you have some photos in the camera and also on your local disk. To download all your photos at once, just choose the select option, tick the photos that you want to download and download them to your photo library first, okay? Now once they are downloaded to the app, you will export them to your phone library. To do that, you have to select them again and just choose one or two and you choose this option to export the photos. Exporting two out of two, 10 out of 10 confirm, exported. Now you’ll find them in your local photo library. There you go, one and two. That’s it, thank you very much see you in the next tutorial.