
How to make a 360 virtual tour of a house with an iPhone


Okay, let’s start from a real life situation example. How are we gonna put the spinner on the tripod? Our VTC tripods have a little plate that you’re gonna remove from the tripod and then you’re gonna screw it on to the base of the spinner, just so that you don’t have to screw it on all the time. Don’t worry if you have a different tripod because it’s got a regular one quarter inch, thread down the bottom, so it fits on any photography tripod. Now when it’s on, you’re just gonna slide it on and that’s it. It’s ready to go.
This is way too high, this is just for the presentation of how to put the spinner on the tripod. Before we gonna start shooting I’m gonna tell you that this moves back and forth and I’m gonna explain in a second why.
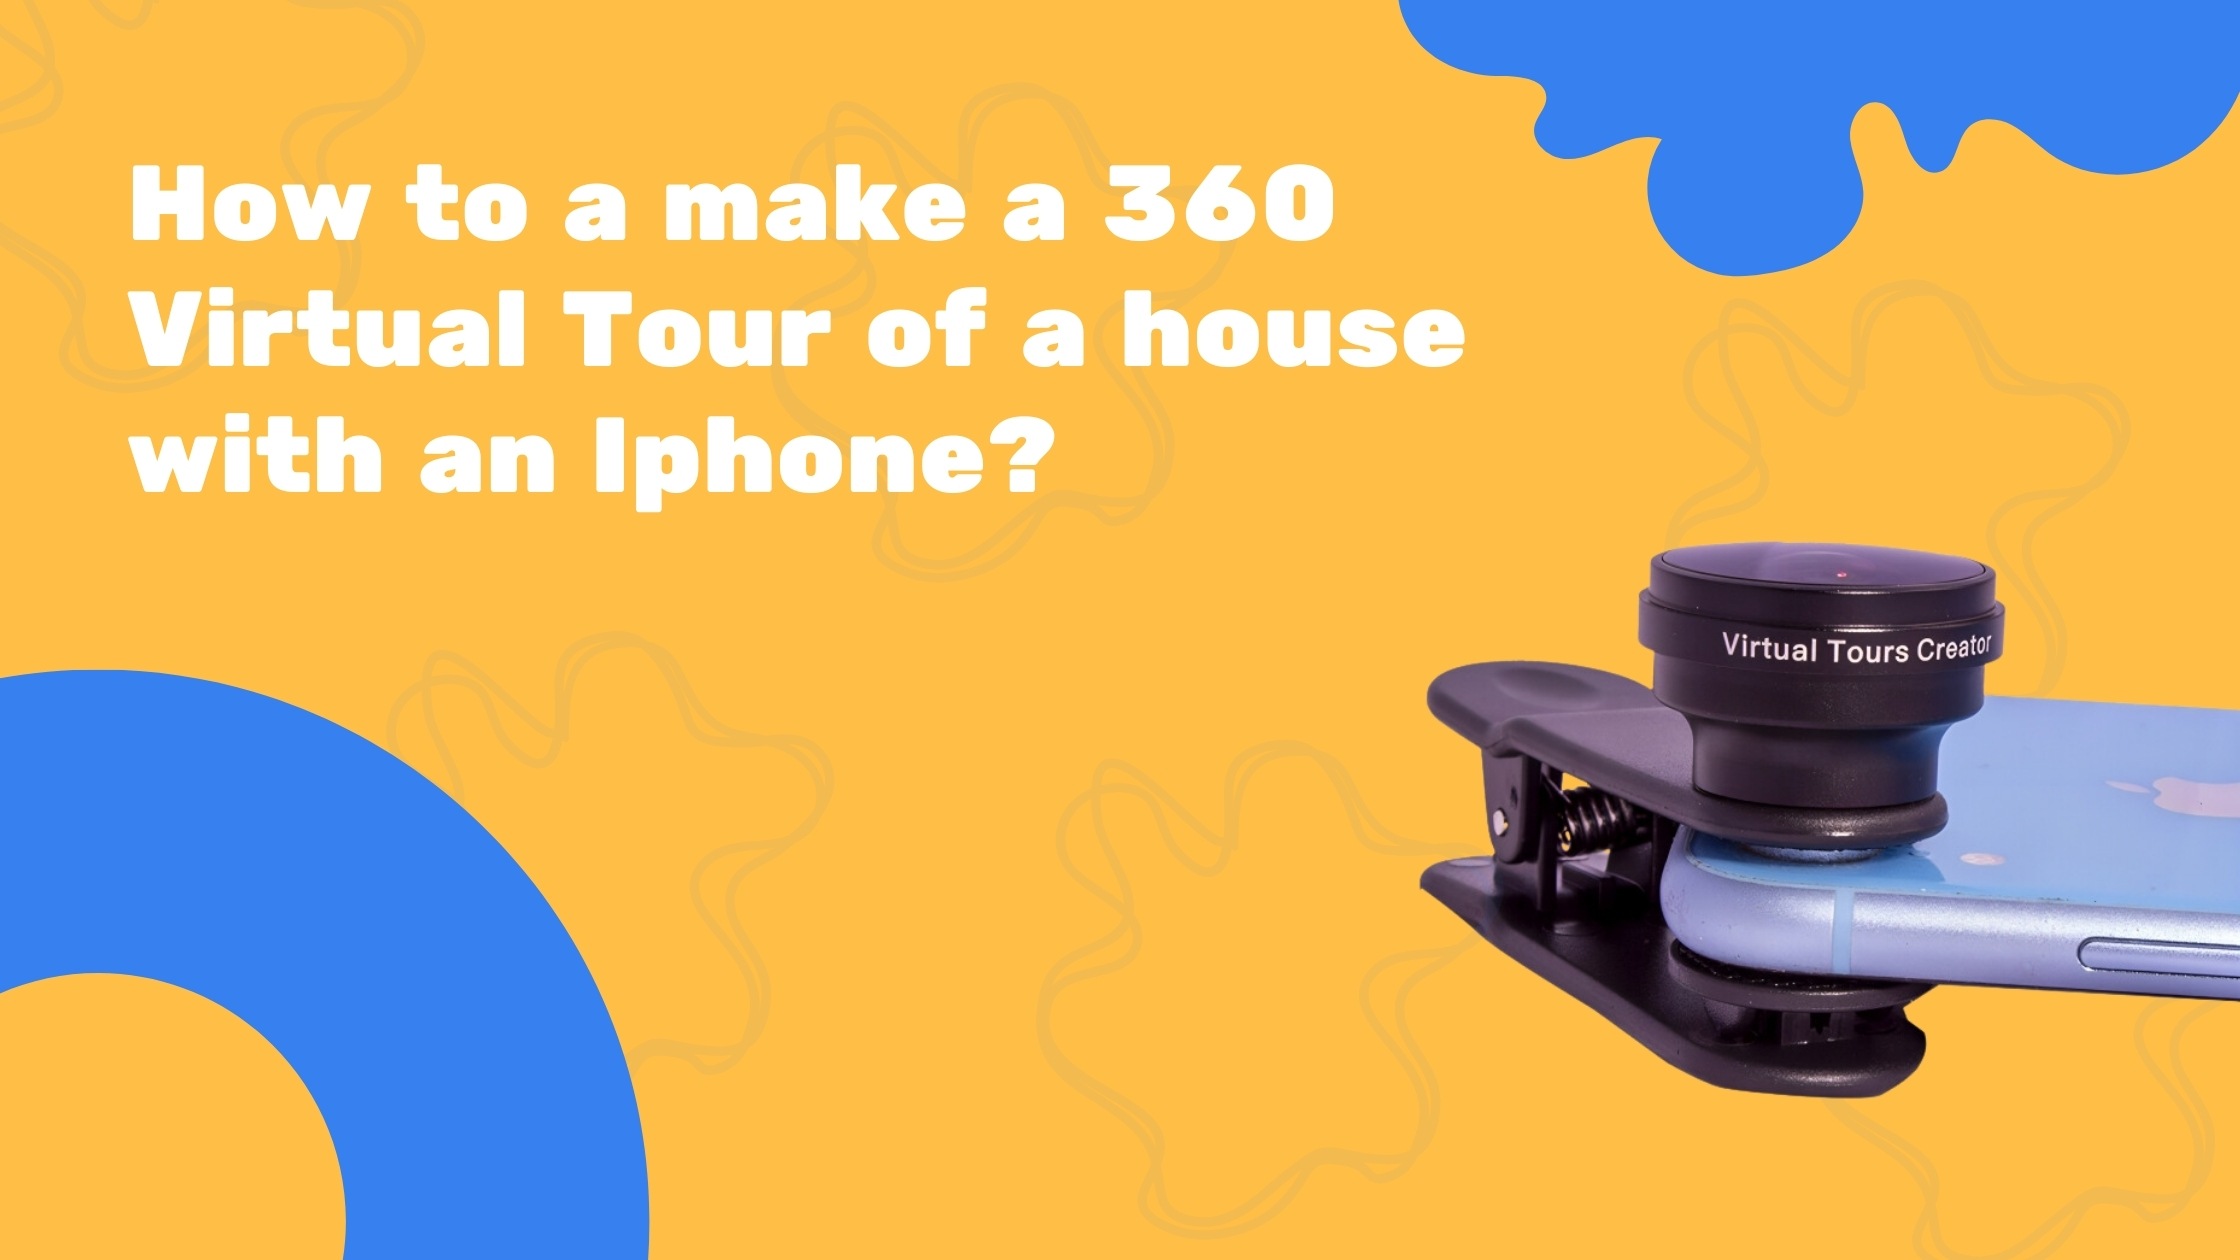
We’re gonna get our phone ready to install the lens with a clip. Make sure you take off the cover of your phone because it might be in the way of installing your lens to a clip. So to do that we’re gonna unscrew the lens from the clip. We’re gonna come back to it later. It’s just because we need visibility through that hole. Okay, we have to perfectly align this bit with your camera. Okay? Make sure that there’s nothing obstructing the view of your phone camera. Once you’ve done that, you’re ready to put the lens on and we just simply screw the lens on. We’re gonna take off the cap and also we’re gonna give it a wipe with that little lens cloth provided. Make sure you always wipe your lens before you take any photos on any camera. Otherwise there will be smudges, it won’t be sharp, okay.
Let’s install it now on our tripod. Now let’s put the phone with the lens properly on the spinner. So the whole idea is to have your lens in one line with the spinner axis, okay? Do not put it on this side because then this will not rotate properly. This is the proper way. There’s a little knob over here. You just try to align the lens with that then you’ll be fine, okay? Just screw it on. Make sure it’s vertical, It’s either your tripod is wrong or the phone and that’s it. Now you’re gonna have to tap on the app and follow the instructions to take all the photos. It’s all automated from now on. Remember the only thing you have to do is make sure the spinner is on, yeah? This light has to be on. Don’t worry about those buttons ’cause you never gonna use them. That’s all you need to do.
Let’s use the app and take some photos now. One more thing that I almost forgot, once you set it up, spin it sideways and I’ll show you one thing, you see the camera and this little bit? I want you to tilt it up towards yourself so you can see the screen but just bring the lens, looking upwards a bit, okay? This will prevent from having a black hole on the ceiling. Okay? It gives you a better coverage of the ceiling while stitching And don’t worry about the big black holes down the bottom because it will be covered with your logo, okay? So once you install it, tilt the phone towards yourself, okay? So the lens looks upwards.
Let’s start with putting the tripod in the middle of the room. You need only one photo per room. So once it’s all set up and you log into the Virtual Tour Creator app, you just go to press the button on the screen and it will start rotating. It’s gonna take eight perfect HDI photos Always keep all windows open, all the doors open so you are able to look inside of every door from the hallway. See that on the included floor plan, Also never put the tripod on any furniture because that’s not quite right, okay? Keep a distance of at least 20 to 30 centimeters from any furniture.
The most important thing is always keeping the line of sight towards the next point where you gonna shoot the next panorama. It means if you’re gonna the tripod from here to the staircase, that you’re gonna move now to, make sure from the staircase, you’re gonna see the point where you previously took a photo that will allow us correct continuity in the Virtual Tour and nobody will get lost. Even though we moved just two meters away from the previous spot we have a staircase, Never put the tripod on the stairs, ’cause it will not be leveled. but you need to see from here where are we gonna go. So we’re gonna take the next photo up on the landing, but if we only took the photo of the landing we wouldn’t see the tripod properly in the living room where it was standing.
We need one spot to connect, to have a clear line of sight. We just came up from downstairs and this an L-shaped hallway. So what we need to do, we need to take more than one photo. One, where the camera is standing up, so we have a clear line of sight downstairs. There is a bedroom here and there is a bedroom there and the camera is in the first room so we need to see the entrance to both bedrooms that’s why we have to take a photo here and this is gonna be our connection point in the hallway Always when you have long hallways of winding hallways, take a photo in front if all the doorways. And always make sure you take a photo of the property outside, take a photo of the backyard. Take a photo of the balcony. Also include in your Virtual Tours the nearby park or a beach or any place of interest that may add value to the property. And this is it, you’re ready to go and shoot your beautiful virtual tours with the VTC 360 set. I hope you enjoyed it. Subscribe to this channel, go blogging to virtualtourscreator.com.au and create your first virtual tour for free. If you have any questions, hit me up on Facebook, leave your comments. Love you guys. I’m super excited for you to use it. And I can’t wait to see the results. See ya.