
How to Save Your Photo Editing Preferences for Future Orders
Want your photos edited exactly the way you like, every time? It’s easier than you think. If you’ve ever received photos that didn’t quite match your vision, there’s a simple fix. By saving your photo editing preferences, you make sure every future order looks just the way you want. Let’s walk through how to do it step by step.
Why It Matters to Save Your Editing Preferences
Saving your photo editing preferences helps keep your photos consistent. Whether you like a bright and clean look or a soft and moody feel, letting your editors know your style up front saves time and avoids confusion.
This is especially useful for professionals like real estate agents or photographers who handle large volumes of images. A consistent editing style helps build trust with clients and keeps your brand looking sharp.
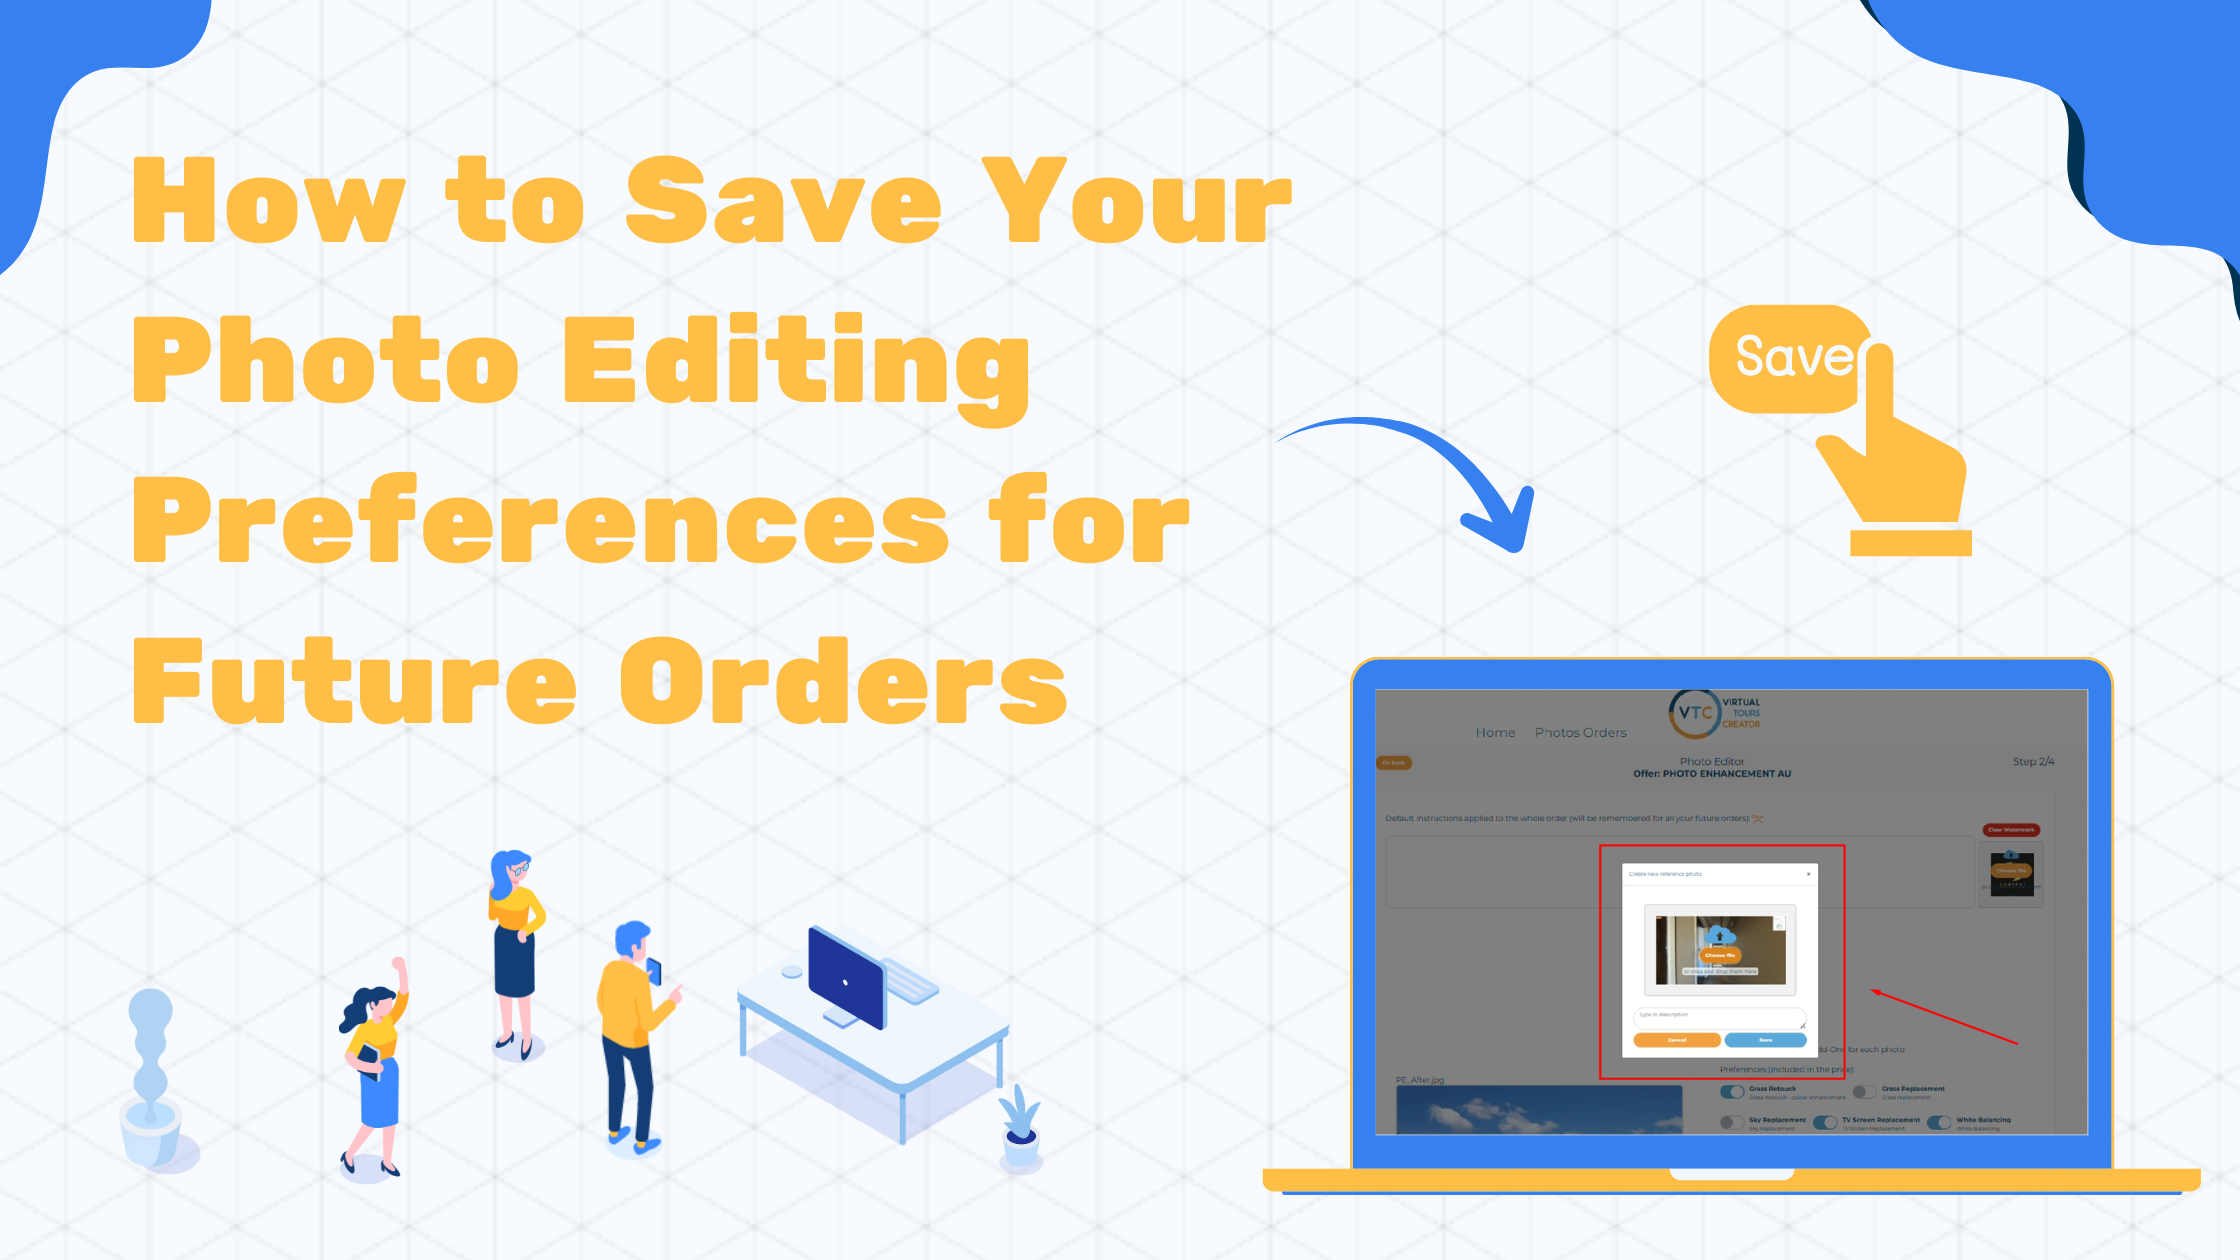
Step-by-Step: How to Save Your Preferences
When placing an order, you can save your editing style in just a few clicks:
- On page 2 of your order, click the little dropdown arrow next to the ‘Open’ button.
- Click the big ➕ icon to upload or drag and drop a photo that represents your style.
- In the space below, write a short note about your preferences. You might mention things like brightness, contrast, saturation, or tone.
- Click Save. That’s it! Your preferences will be used for all your future orders.
What Should You Include in Your Description?
The goal is to help your editor understand exactly how you want your photos to look. Here are a few things you can include in your note:
- Brightness: Do you like light and airy photos or something a bit darker?
- Colors: Should they be bold and vibrant or soft and natural?
- Warmth: Do you prefer a warm tone (yellowish) or a cool tone (bluish)?
- Sky: Should grey skies be replaced with a clear blue sky?
- Sharpness: Do you want crisp edges or a smooth, clean finish?
If you’ve seen edits in the past that you liked, upload one as your reference. Even better if you can explain what you liked about it!
What Happens Next?
Once you’ve uploaded your reference photo and saved your preferences, our editors will use that as the guide for every future order. This means:
- No need to re-explain your style every time
- Faster delivery—because the team already knows what to do
- Better consistency—every image matches your brand
Can You Update Your Style Later?
Yes, anytime! If your style changes or you want to try a different look, just repeat the steps. Upload a new photo and update the description. The new preferences will replace the old ones, and the next edits will follow your latest update.
Examples of Common Styles
Still not sure what to ask for? Here are a few editing styles people often request:
- Bright and clean: Great for homes with natural light.
- Warm and cozy: Perfect for indoor living areas.
- Sharp and vivid: Works well for real estate listings.
- Soft and muted: Ideal for lifestyle or relaxed branding.
Simple Mistakes to Avoid
- Don’t use a blurry photo as your reference. It’s hard to follow your style if the sample isn’t clear.
- Don’t forget to save! If you close the page too early, your preferences won’t be saved.
- Don’t leave the description blank. Even a few notes make a big difference.
Need Help?
If you’re stuck or unsure what to upload, feel free to reach out to our support team. We’re happy to guide you through it. You can also check out our blog for more photo editing tips and examples.
Final Thoughts
Saving your photo editing preferences is a small step that makes a big impact. It helps you get the results you want, every time. Once it’s saved, there’s no need to repeat yourself with every order. Just sit back and relax—your style is already set.
Next time you place an order, try uploading a reference photo and a quick description. You’ll be amazed at how much smoother the process becomes!