
Insta360 OneR unboxing, assembly and gyro calibration for 360 virtual tours in real estate
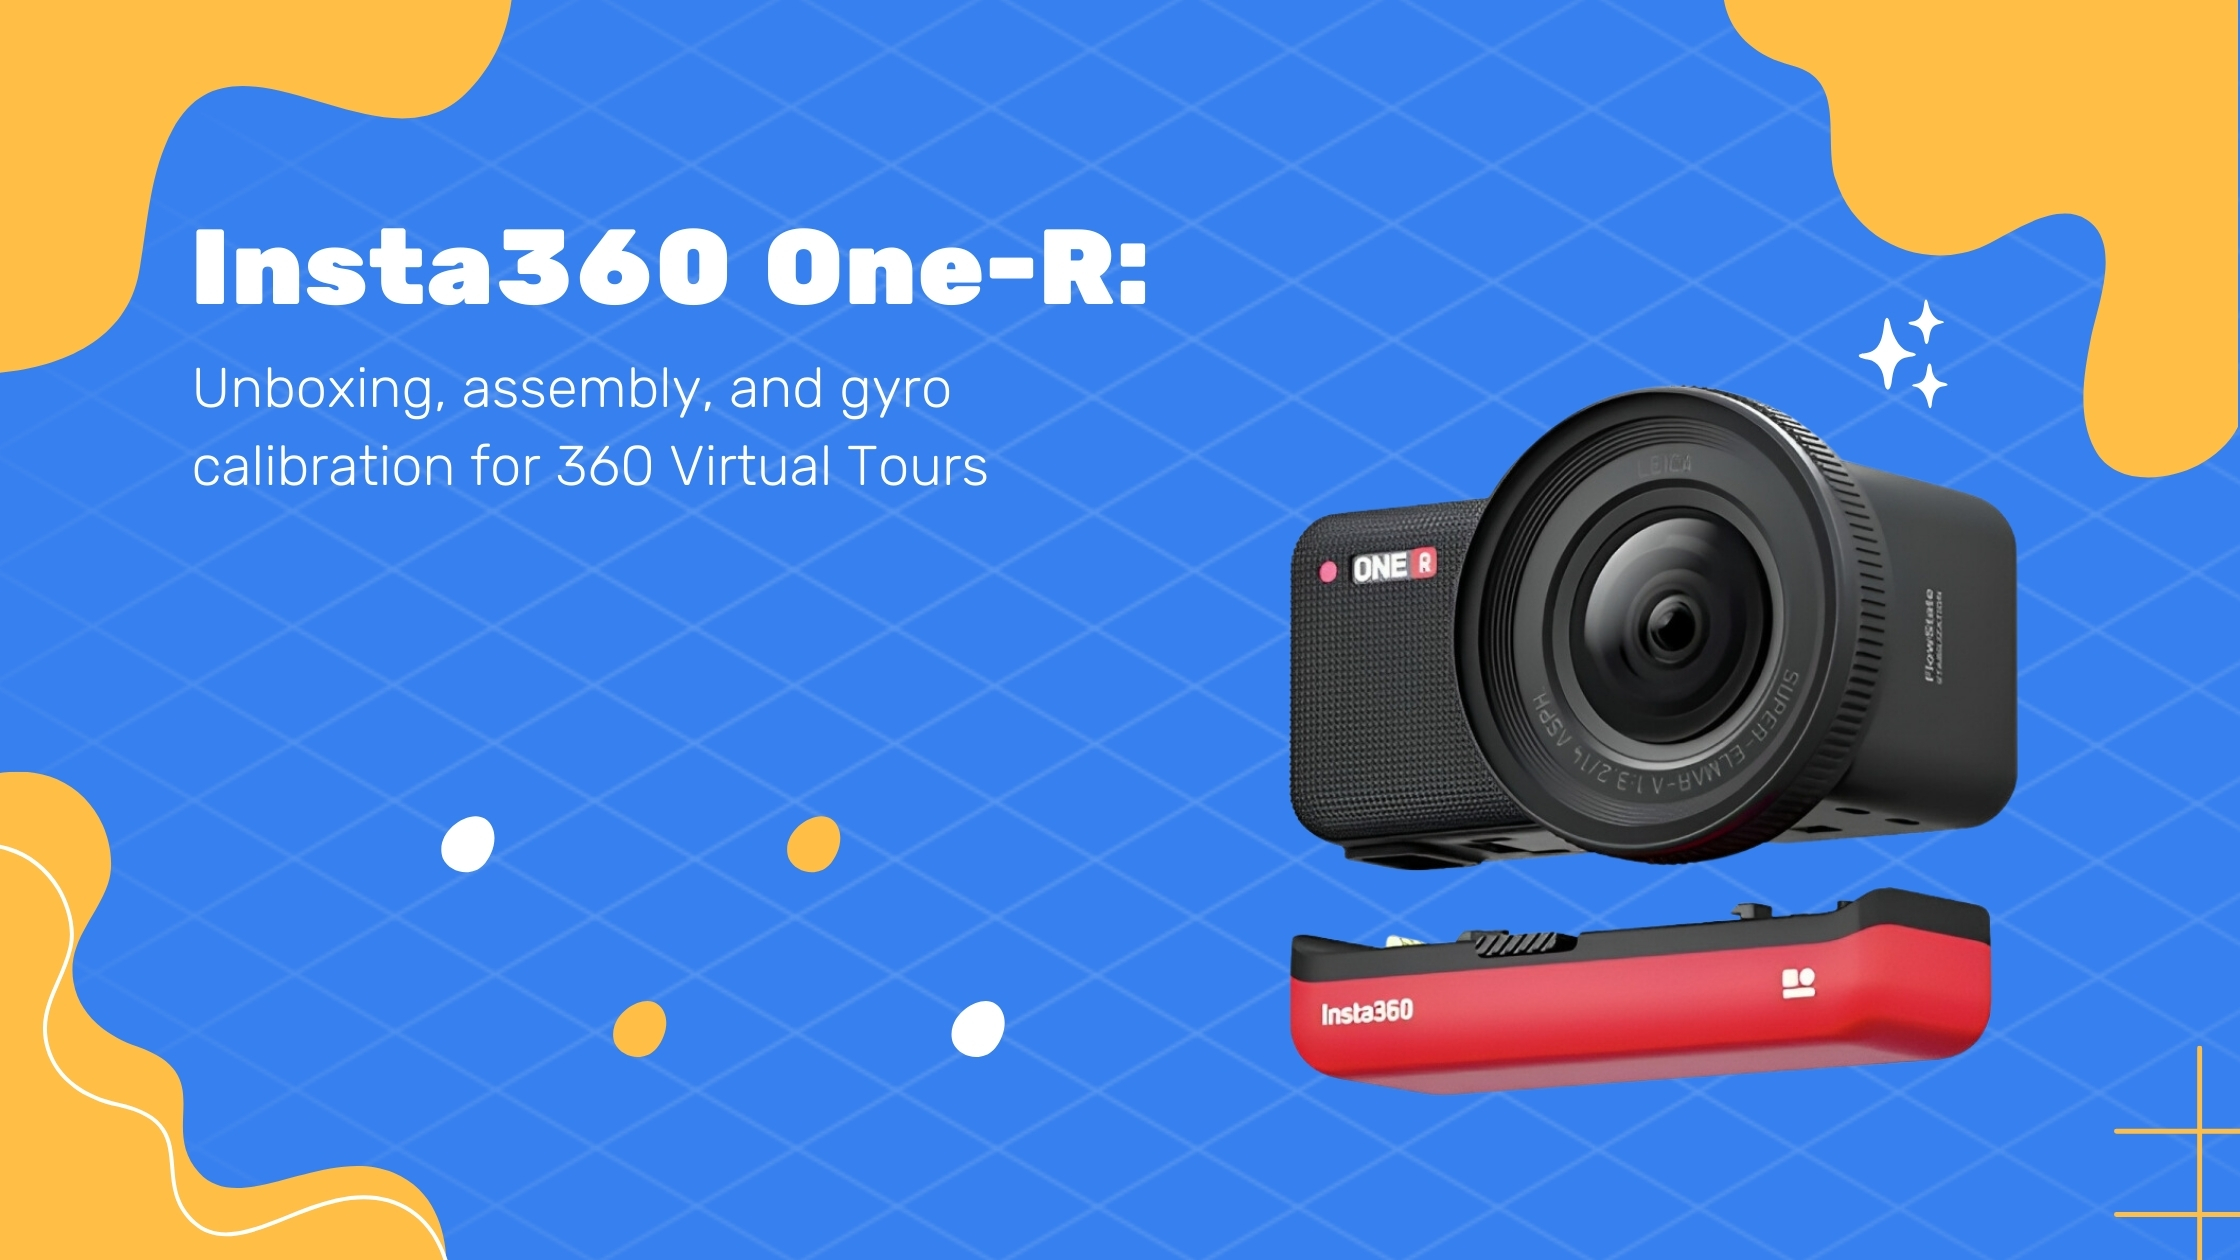

Hey guys, this is Tom from Virtual Tours Creator. Welcome to another video. This time I’m gonna show you what’s in the box in our new camera, Insta360 ONE R.
Please watch this video carefully because I’m gonna show you how to properly assemble the camera. It’s not as easy as the other cameras, you need a special cover that you will then attach to the tripod. So let’s start. When you open the box, the camera constitute in two parts. This is your new Insta ONE R obviously 360 lens on both sides, but the red bit is the battery and that comes separate. So first thing you have to do is attach the battery to the bottom of the camera. It’s the easiest matching these little slots together. You have to put all this in, its pretty much. You just have to click it in. Yep. So it sits nicely together. This is the release button. So if you want to remove the camera, the battery from the camera, just slide it and it comes off. Okay, or you put it back in. And that’s it. We’ve got this bit ready. What now? What is in this box, what’s new is the little cover. That’s where your charging cable is. Okay. And this bit in the middle is a bit more complicated than other things that you’ve seen before. A lens cloth. That’s a nice addition but in here we have a few little bits. And we’re gonna talk about them all. This one is the most important one, because this will allow you to attach this camera to your tripod. Yeah, just like a GoPro so it’s a slightly different now this bit opens up. So you have this button on top, which you can push and then lift this up and that will allow you to open a little bit that is on the front on the side yeah, this opens up and that will allow us to slide the camera in. Now, so you know how to put the camera in. See you’ve got the power button, see. Same thing on the camera. You’ve got the power buttons on top. All you have to do is just match them. So you slide it in. Just like that. Then you close this bit. Then you secure it by closing this, just like that, and then it clicks in. And now your camera is ready to be installed on top of a tripod. What you need to do is also add your memory card, so you will get a memory card from us. And once you take it out, it’s a little like that. So on this side, this is our camera slot, to put the memory card in. Maybe we should have done that before we put it in that special cover. So I’ll just take it out. Carefully take the camera out so that we don’t scratch the lens, you can give them to push from the back and now this is our little place where you put the memory card in. So you just have to open it up, it pops up. It’s on a little attachment so you won’t lose it. And all you have to do now is slide the memory card inside. Just push it in and it stay. Now a very important thing to close this. You see there’s two little triangles, one on this bit, and one in here. They have to match. That’s how you’re gonna know which way to close it. So you put it in and you push it in. Now, in here, it’s very important because this camera is waterproof. If you see that little yellow line in there, this means this hatch is not closed. You have to make sure you push it in so you don’t see the yellow line. That means your SD card is properly installed and secured from water damage. Okay. Let’s put it back in. Close it. And now we are almost ready to shoot, I will just now show you how to attach that bit that’s gonna allow you to connect the camera with the tripod head. So I’ll pull it safely inside. And let’s say this is the tripod head, your gonna have to put it here. So with that, you can’t just do it. So what you’re gonna need, it’s gonna be one of those attachments. The difference between the two of them, and I’m not gonna talk about it too much is one that you’re gonna use is the one that says for invisible selfie stick. And this one is just a general one. You’re gonna use this one because it will automatically keep this camera in a straight position, it will not allow you to tilted to front or back, it will always be straight. And the easiest way to figure it out is that see this bit has that square ending. And this fits only to one way of the camera in here. And you see it will not move. So that’s how it should probably look. Maybe if you look at the front of the camera like that, you’ve got the silver bits on this side. And this will allow us now to took this bit in on the other side, secure it. And now you will be able to screw this bit on top of a tripod. Of course, you’re gonna get the black extension ’cause you have to leave the camera about 10 centimeters above this plate. Okay, that’s how the black extension look like. You put it on top of the tripod. And then you’re gonna screw the camera on top of that. That’s the look you want. And before you’re gonna put the camera on the tripod, and you’re gonna start shooting photos, you have to calibrate the gyroscope. And to do that, you simply turn on the camera. By pressing the power button makes the sound, blue light comes up, and at the back, it’s got a beautiful display. So this is a touchscreen display. Then you can set all your camera settings manually here, but we’ll be using your phone app to navigate and take photos. But just to set up the gyroscope, you have touch the screen and scroll your finger down from the top so it opens up the settings. Then you scroll to the left once and this is your setting cock. Click on that. You go to general. Sorry, you go to general and you have to scroll up. To find the Gyro Calibration. You click on that and it’s going to give you instructions. on the display, you can see that you have to put the camera sideways, pull it up on the bench top, like that. And now slide this button up. And this tells you it’s counting down that in 4, 3, 2, 1 is gonna start the calibration. It’s now calibrating the camera gyroscope and once that’s done you’re ready to shoot makes the sound and your photos are gonna be nice and straight. Thank you very much. See ya.