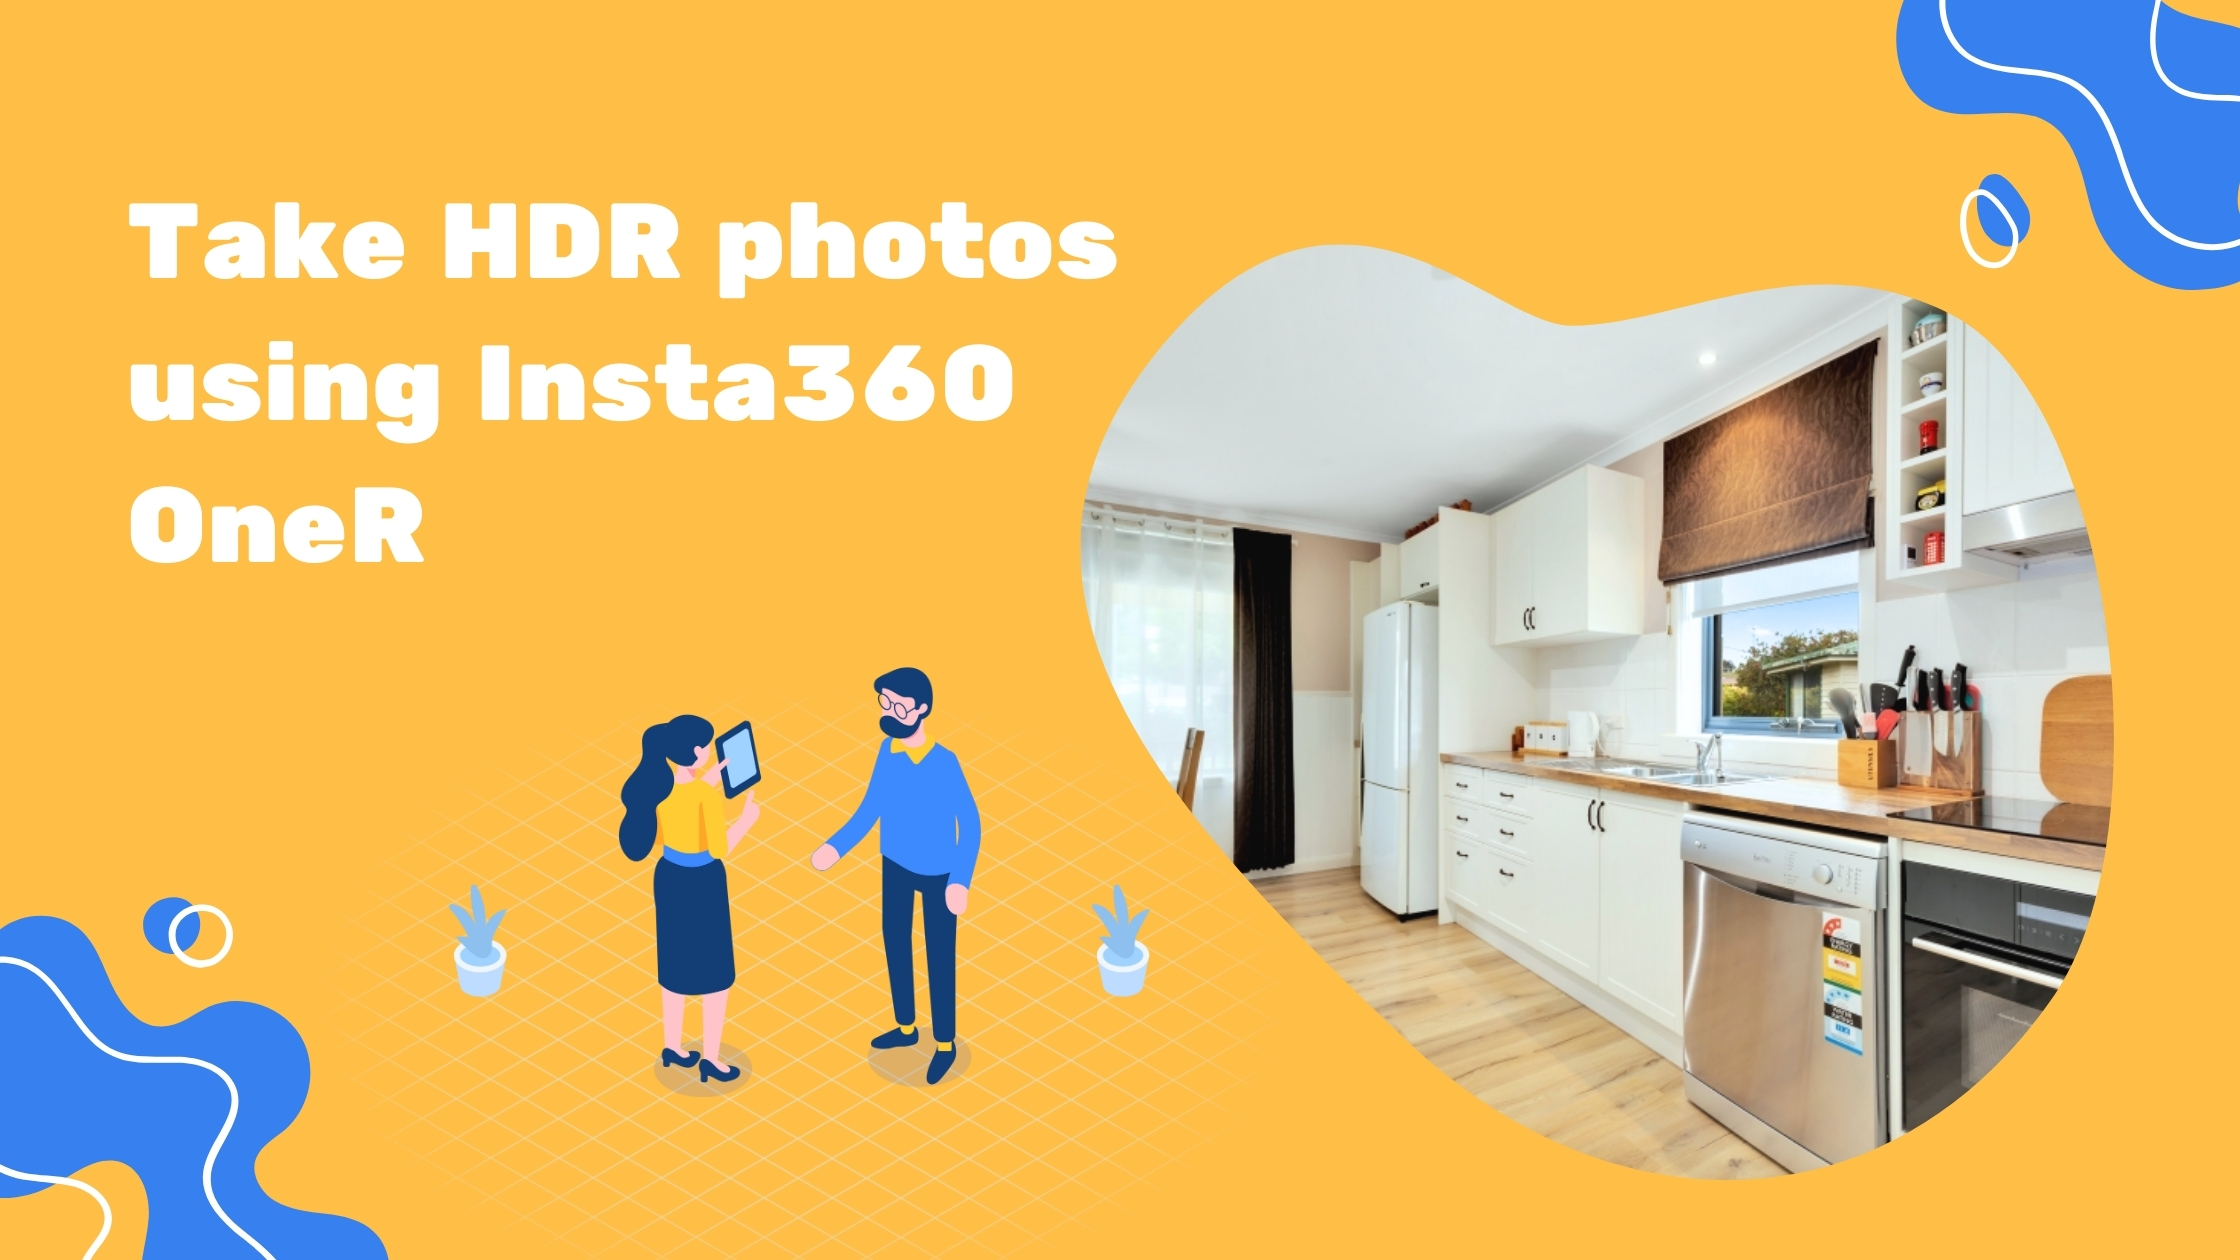
Take HDR photos using Insta360 OneR
Hey guys, this is Tom from Virtual Tours Creator. In this tutorial, I’m gonna finally show you how to shoot HDR photography with the Insta360 ONE R. What you can see on the screen is the HDR preview. Can you see the blue sky? Now, have a look at a normal photo. So that’s how it looks like when there is no HDR, you just shoot a normal JPEG, and that’s when you do HDR. Let’s get on to it.
To start shooting in HDR, you have to go to your app settings. And where you are in the single-shot mode, let’s just click on that. The second icon says HDR Photo, so let’s click on that. Now, we just have to choose what mode of HDR, there’s quite a few. But let’s scroll to the right, set this, the photo quality, just to a single JPEG. This will make the photos to be taken faster. Because now we’re gonna choose the auto exposure bracketing, you can either shoot three, five, seven or nine. Nine is your best bet because your camera is going to take nine photos in 360 and it’s gonna merge them automatically into a beautiful one single image. On top of that, we have to choose what bracketing between photos we’re gonna choose. So we’re gonna set the distance between the photos in exposure to plus minus one. And now we are ready to shoot, okay? So all you have to do is just press this button to take a photo. It’s gonna take longer than usual. There you go, that’s me. Hello. Now we’re gonna take a few of those photos.
So let’s take another one because from now on, you’re gonna have to do one very important trick. If you’re gonna go back to your photo library, you’ll see all your photos. It will tell you down the bottom here if it’s in HDR. You can see that, yeah? HDR. Now, to download those photos, you can’t do it like you’re doing it with normal JPEGs. So you don’t just select them and press download. First, you have to synthesize HDR, that’s one step more than what you would do with normal JPEGs. And to activate that, you just have to click on the photo that you took, and you’re gonna have to open each and every photo one by one. There’s nothing we can do about it, that’s how it’s designed. So just click on it, it opens up the photo, and you’re gonna see the information from the app synthesizing HDR, okay? You have to do it for every photo. Just wait. And when that’s done, instead of going back, you just press next on that little arrow and this is gonna synthesize the next photo. So just do that on every photo that you took.
And after that, you’re gonna be ready to download those photos to your phone library, okay? So let’s go back to the library, they have been synthesized. We select them, one, two, and we go export to your photo library. You confirm you’ll be able to find it in your photos on your on your phone. One and two, with beautiful HDR view. Can you see those windows? Not blown out, blue skies. You can even see the white building in the back. That’s it. Thank you very much, see you in the next tutorial. And don’t forget to subscribe to our channel below. And also, if you want to do a free virtual tour, click on the link below. See ya!


